Note: still in revision. Coming: how I use AI tools to generate utility maps for comp, more production Q&A, and 2 more shots once final.
Overview
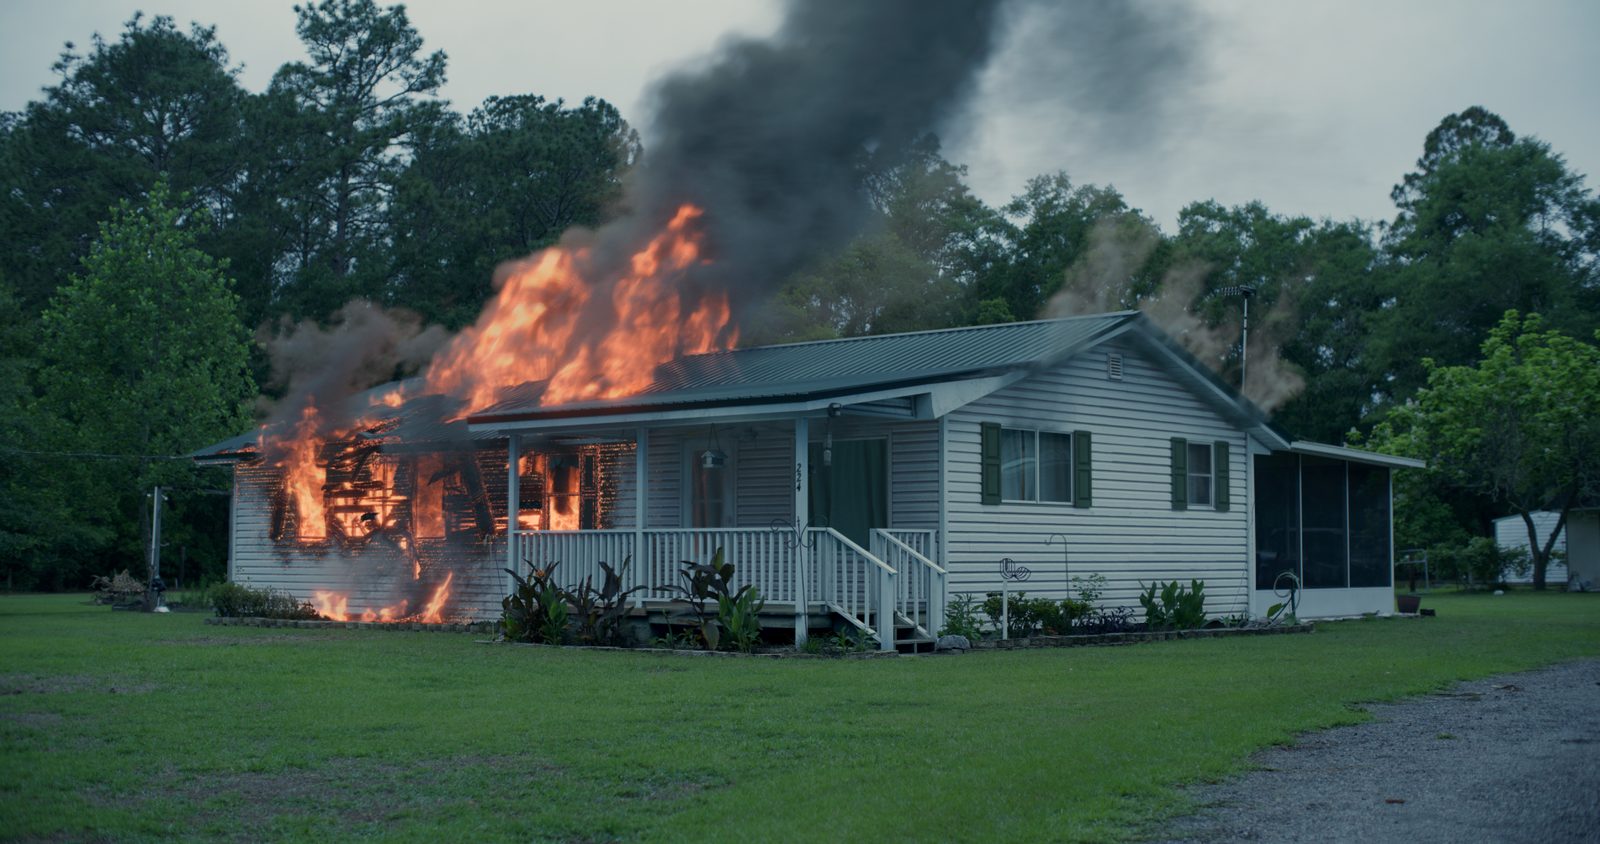
Red is the Wrath of the Womb is a horror-supernatural thesis film directed by Sophia Pozetta (SCAD Film). In its climax, a lantern the protagonist throws to the floor grows into a house fully engulfed in flame: eight VFX shots.
I led them as VFX Supervisor and FX Lead. With everyone, me included, on coursework and other projects, that constraint shaped the pipeline, the delegation, and which corners could be cut. This post goes deep on SH180, the shot I was most invested in; the other seven are in the breakdown video.
TL;DR
- Supervised the climax's fire VFX: 8 shots, 6 artists, 2 months, part-time.
- Argued against a practical miniature burn for a fully CG house, gaining control over fire behavior, scale, and iterations.
- Split hero shot SH180 into separate sims for control. It surfaced the sequence's hardest pipeline bugs: Cryptomatte on the farm, a path-related farm crash, an EXR race condition, and a cross-machine color mismatch.
- Under time pressure: standardized the pipeline early, built in schedule buffer, and stepped in directly when someone fell behind.
- Takeaway: supervising isn't having every answer. It's listening, owning the final image, and getting the team to the right call together.
Reference
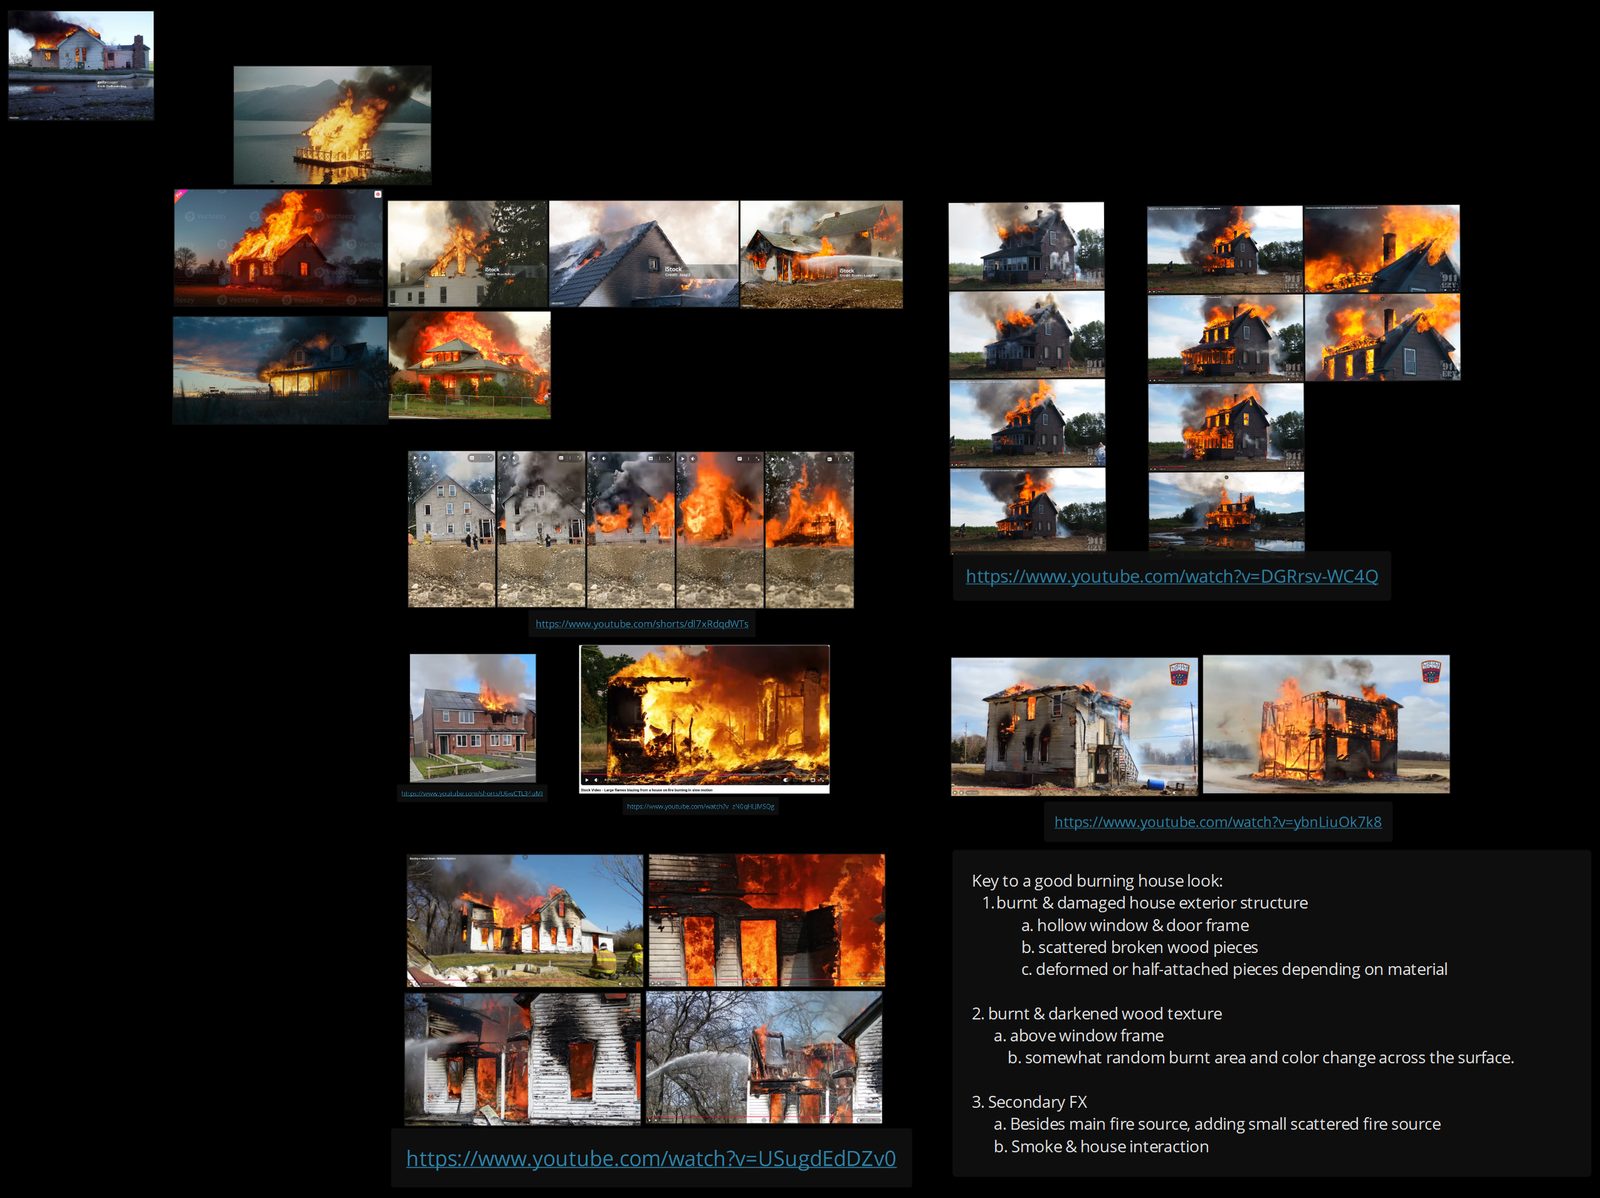
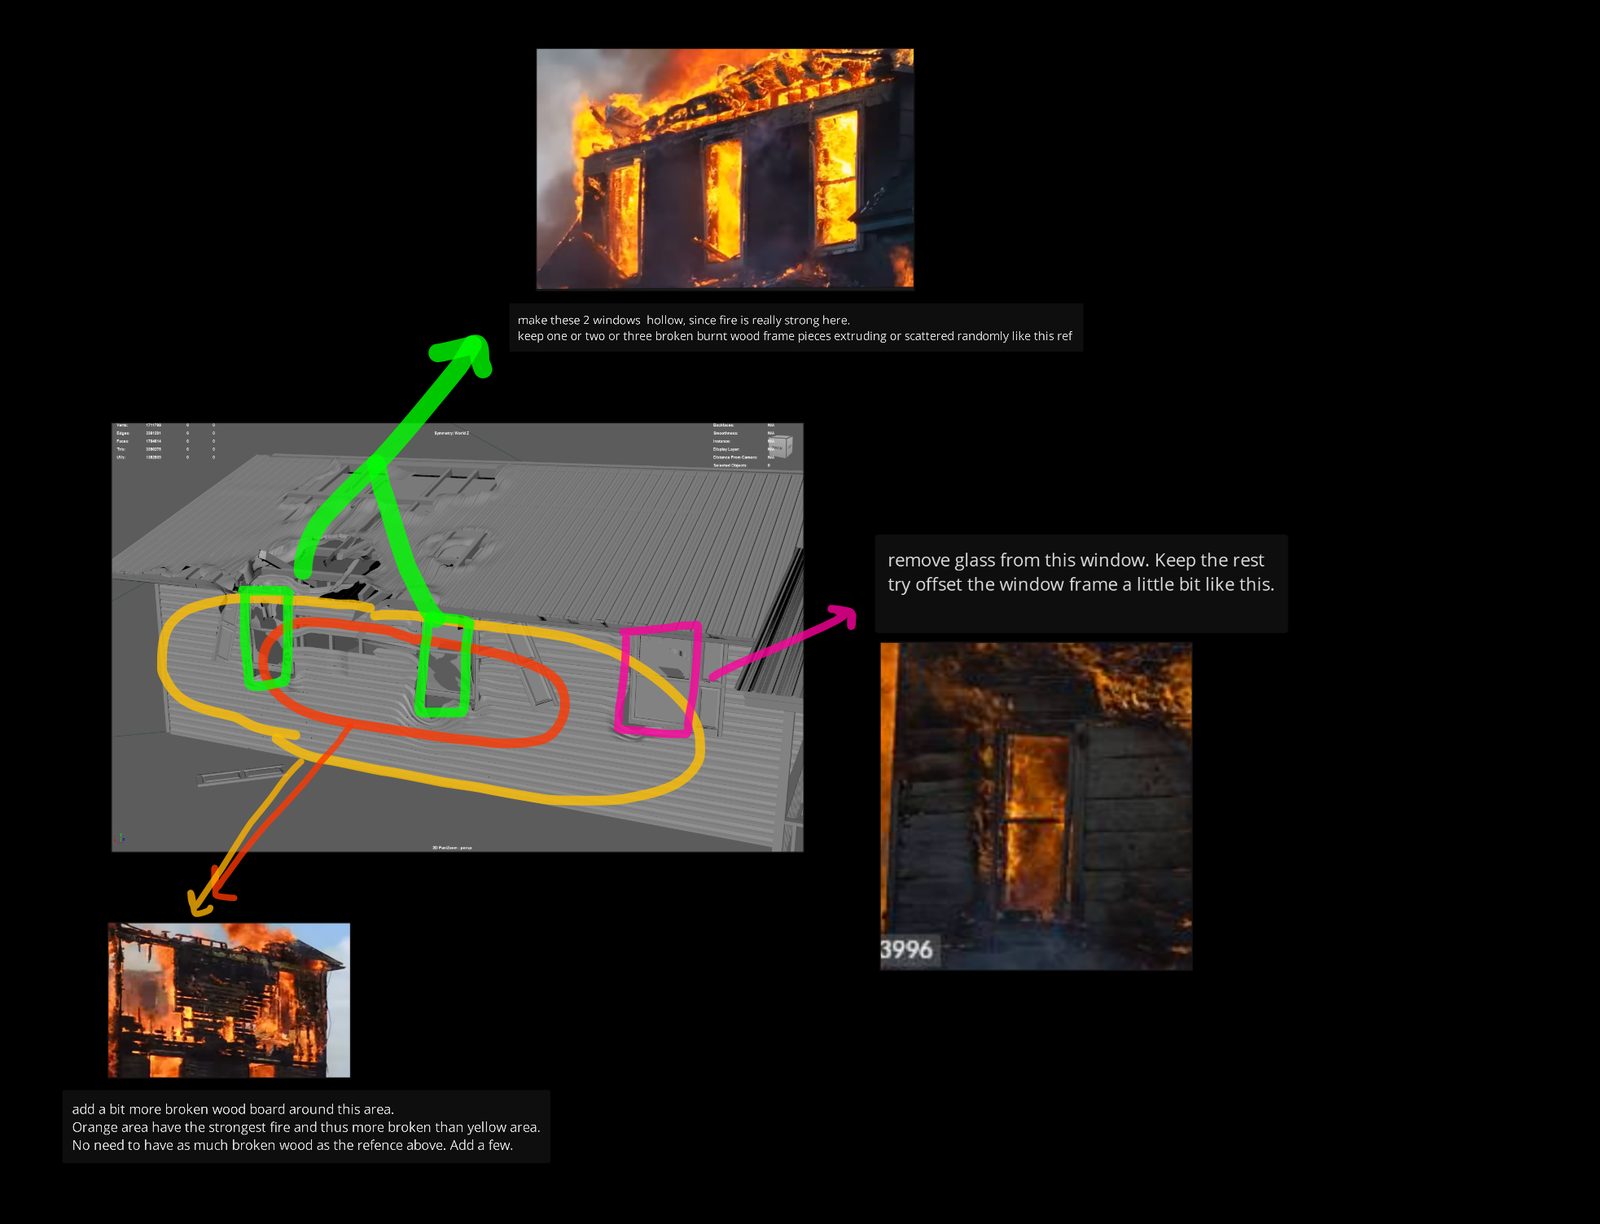
Nothing was invented. Every shot was built against reference: Shotdeck film frames and real burning-house footage from YouTube, chosen per shot to match the storyboard and on-set plates.
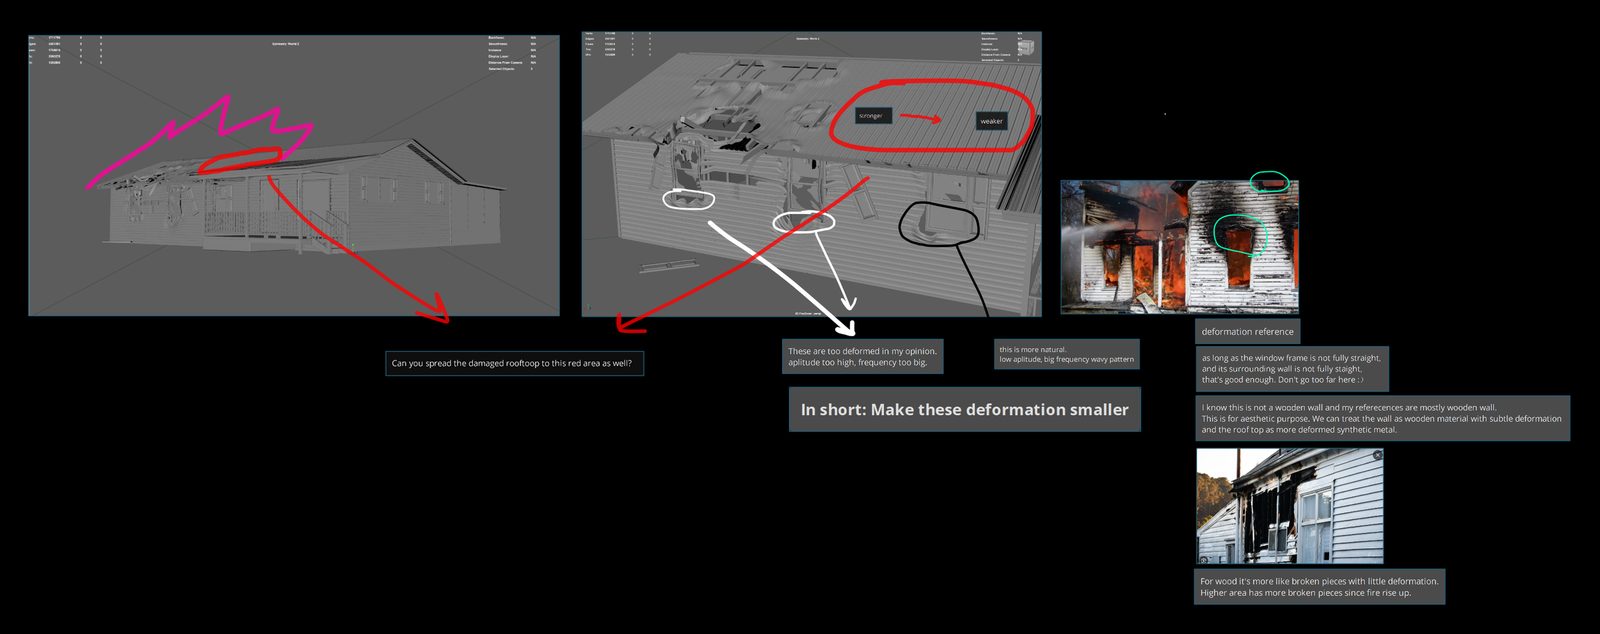
I compiled reference, storyboard, and set footage into one PureRef board per shot, shared with the whole team, so everyone worked from the same standard.
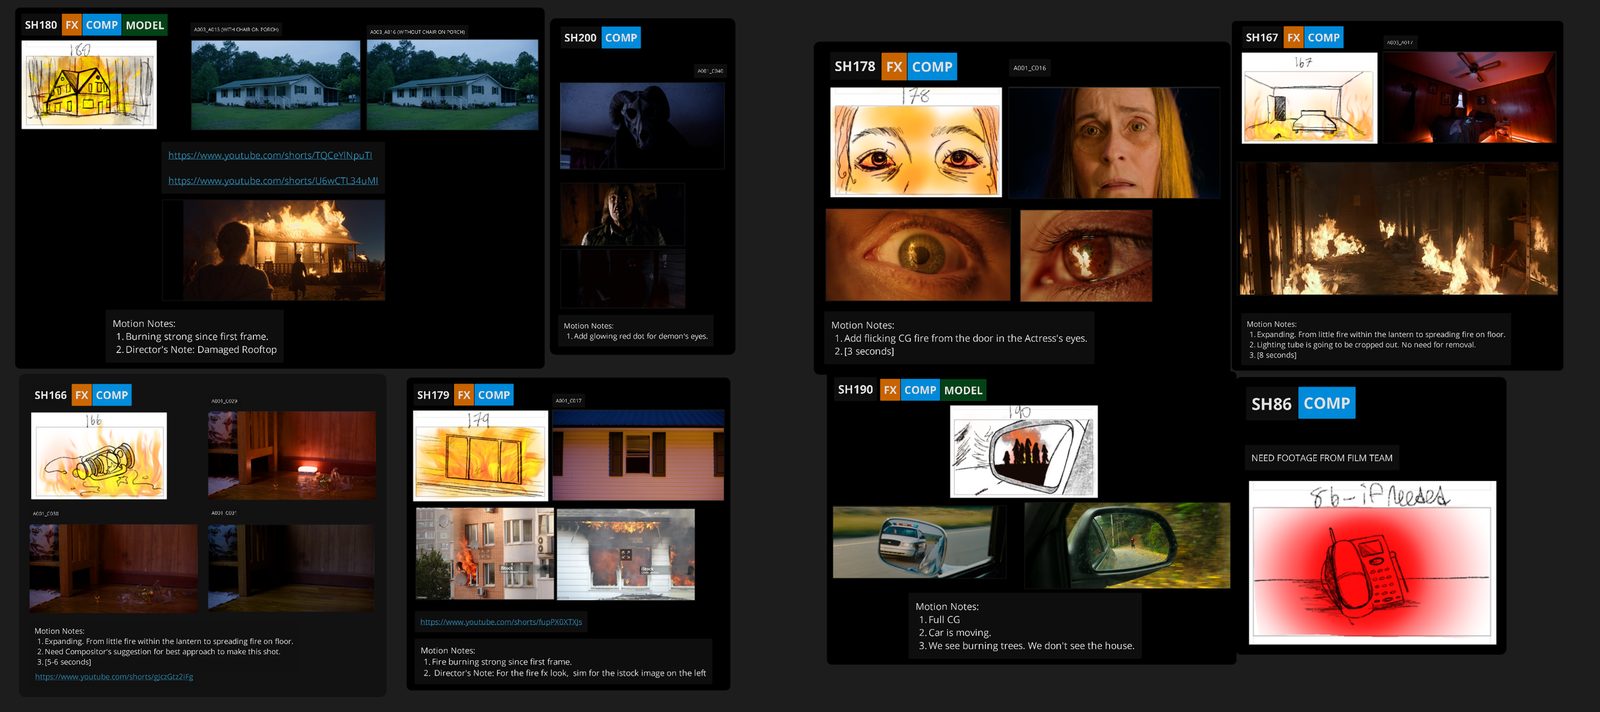
The sequence
I supervised all 8 shots end to end, giving creative direction and technical support, and built the fire FX on 3 of them myself.
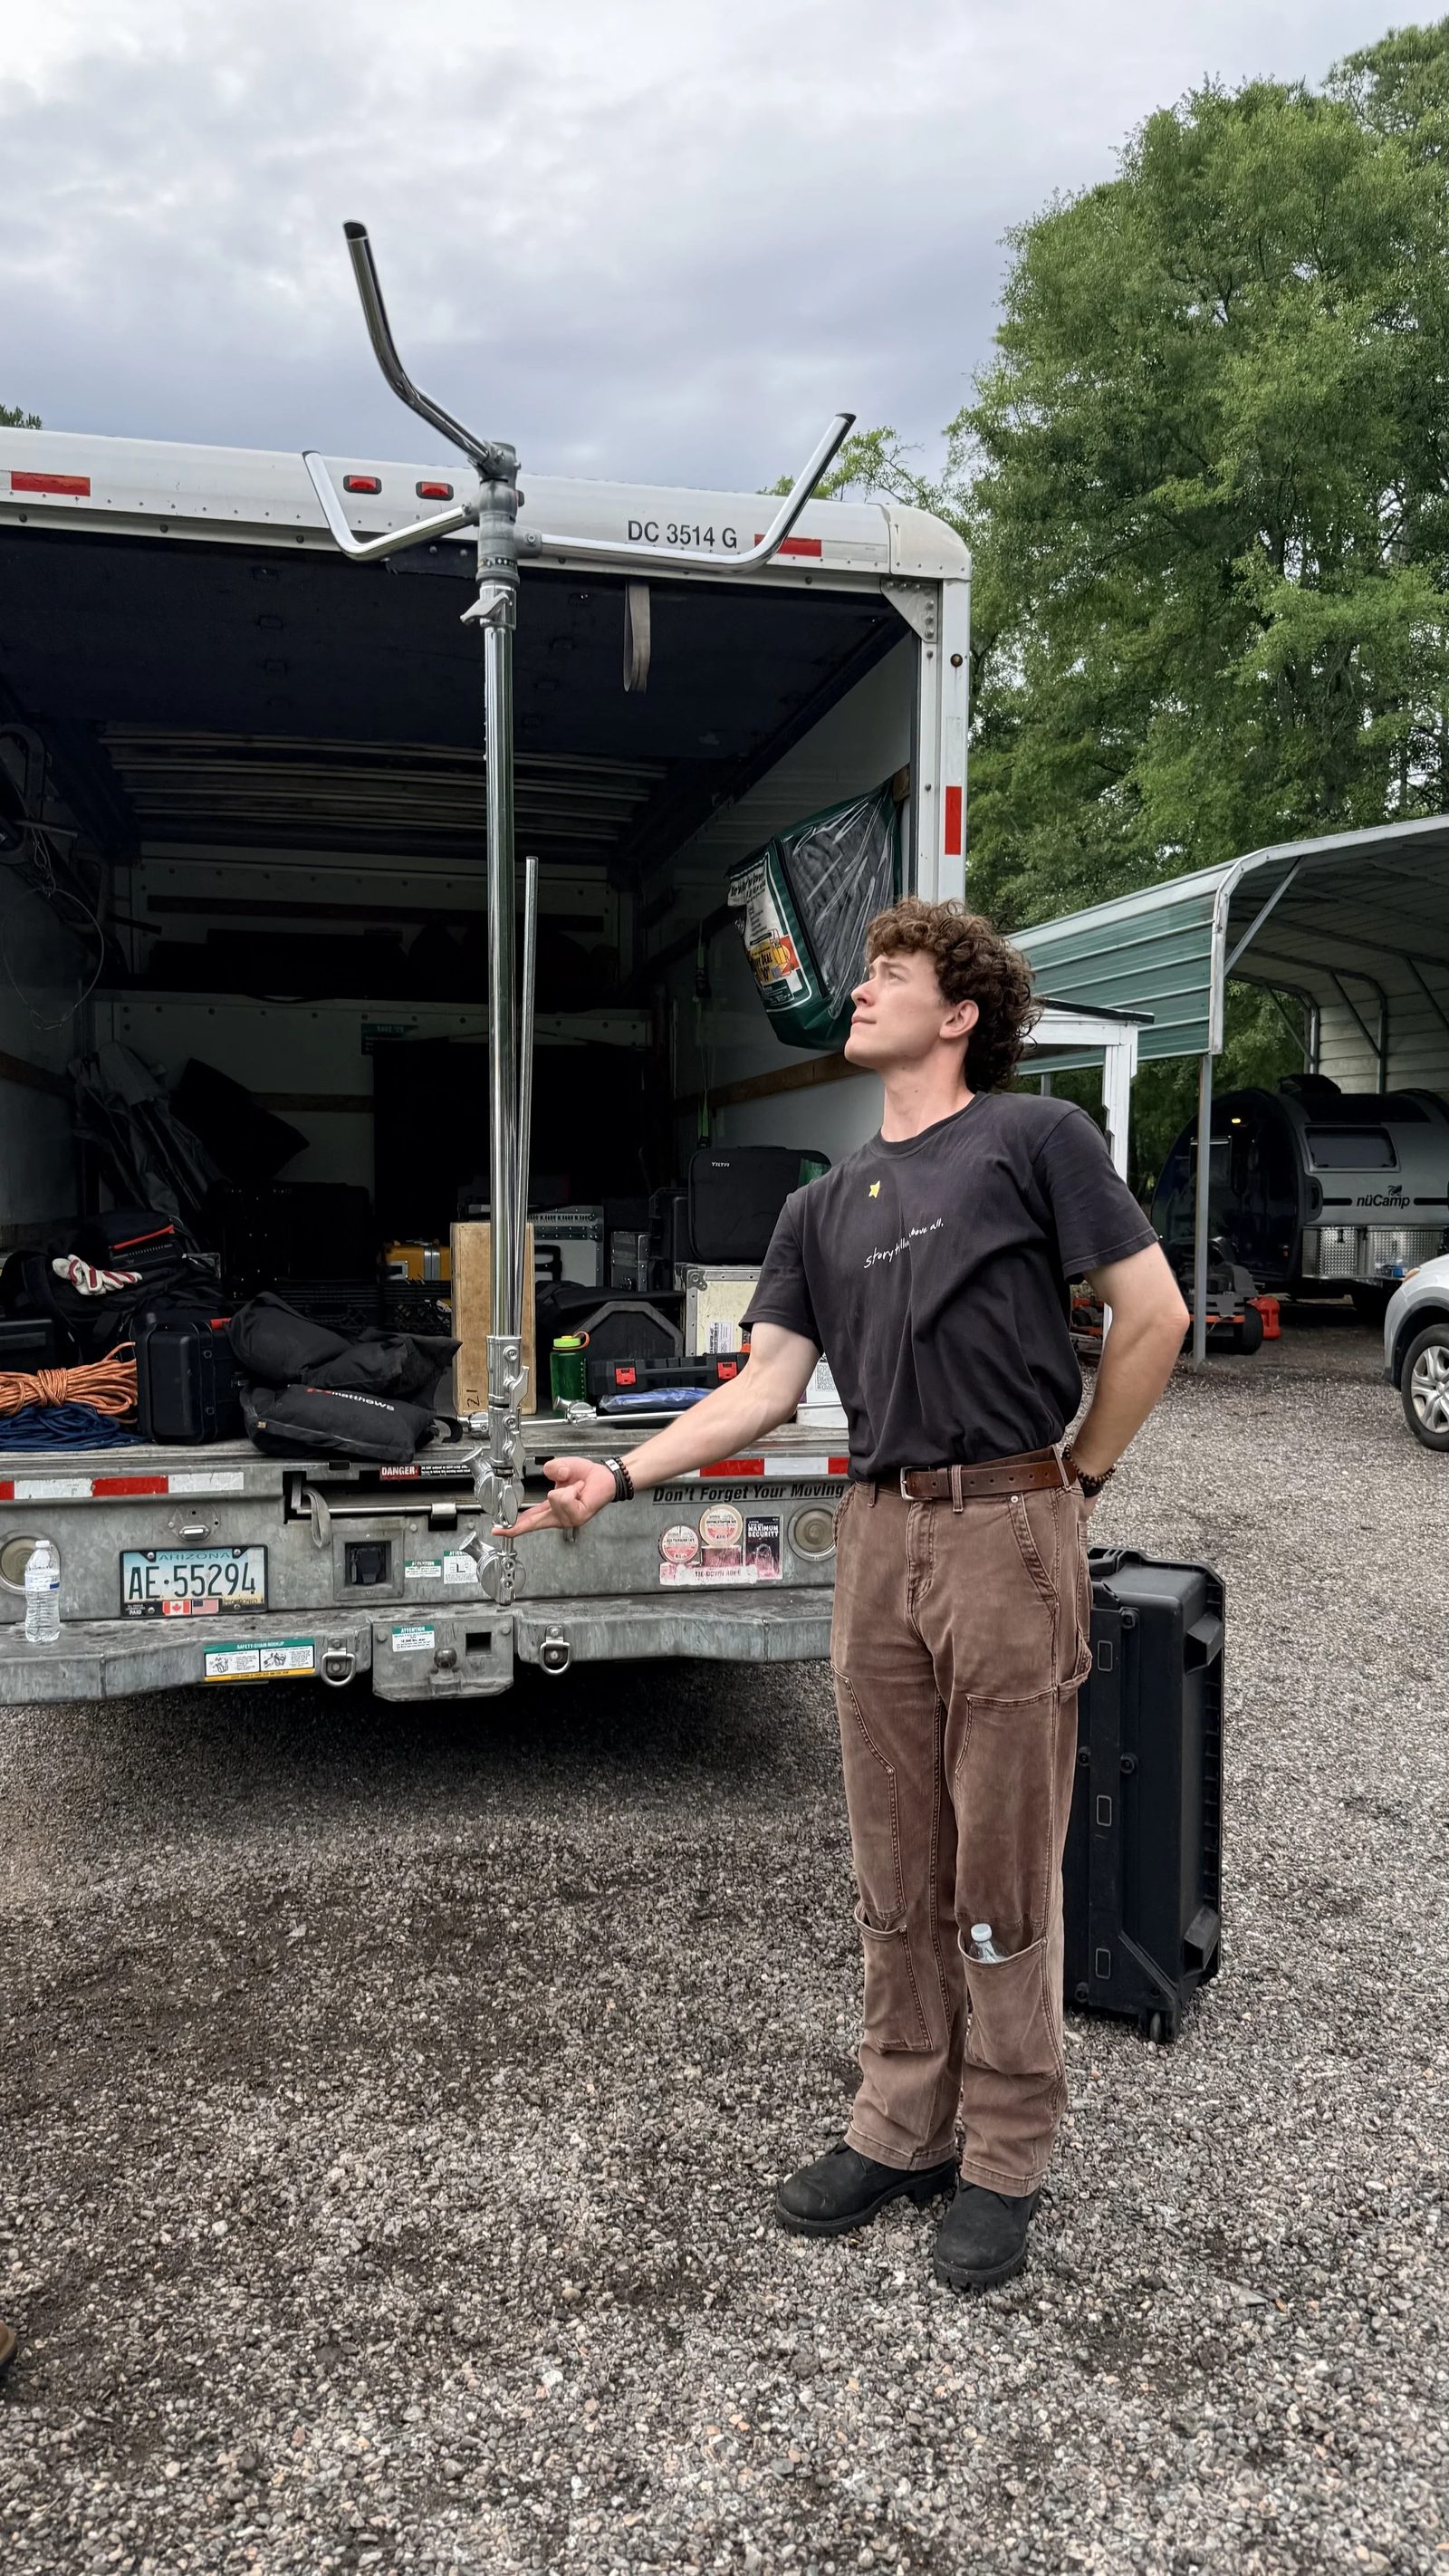
On set
Bridging two teams
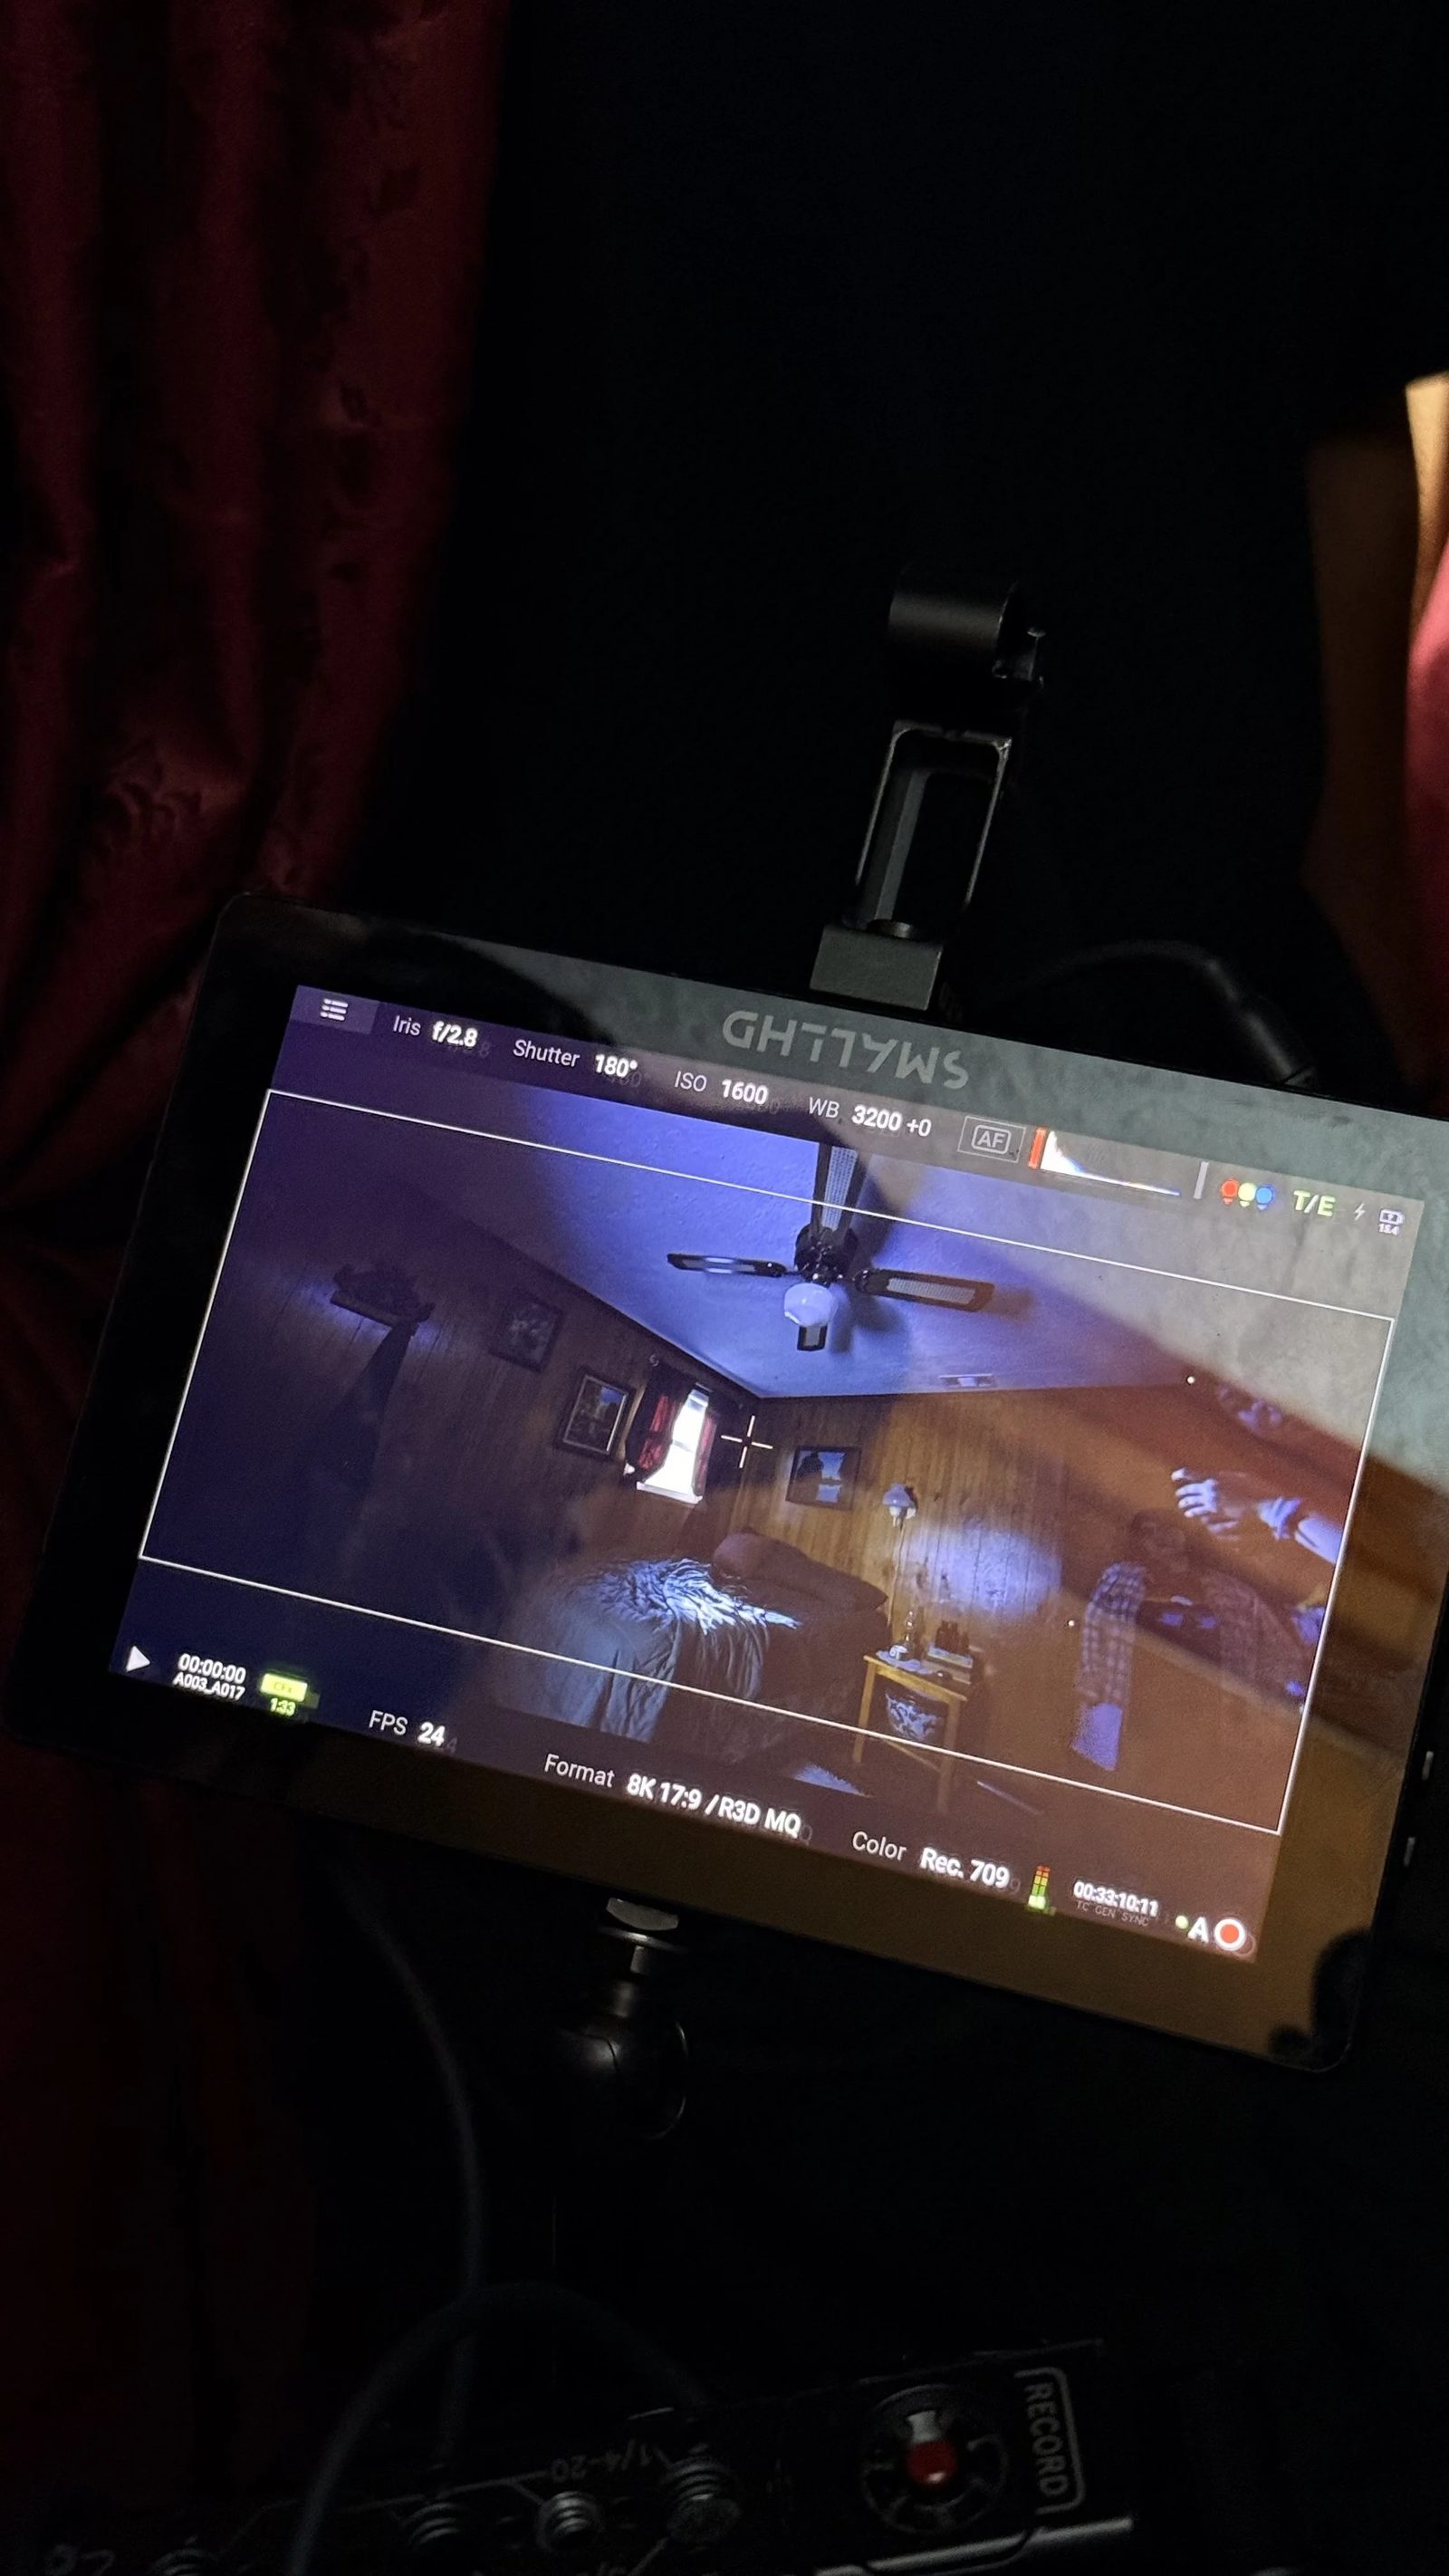
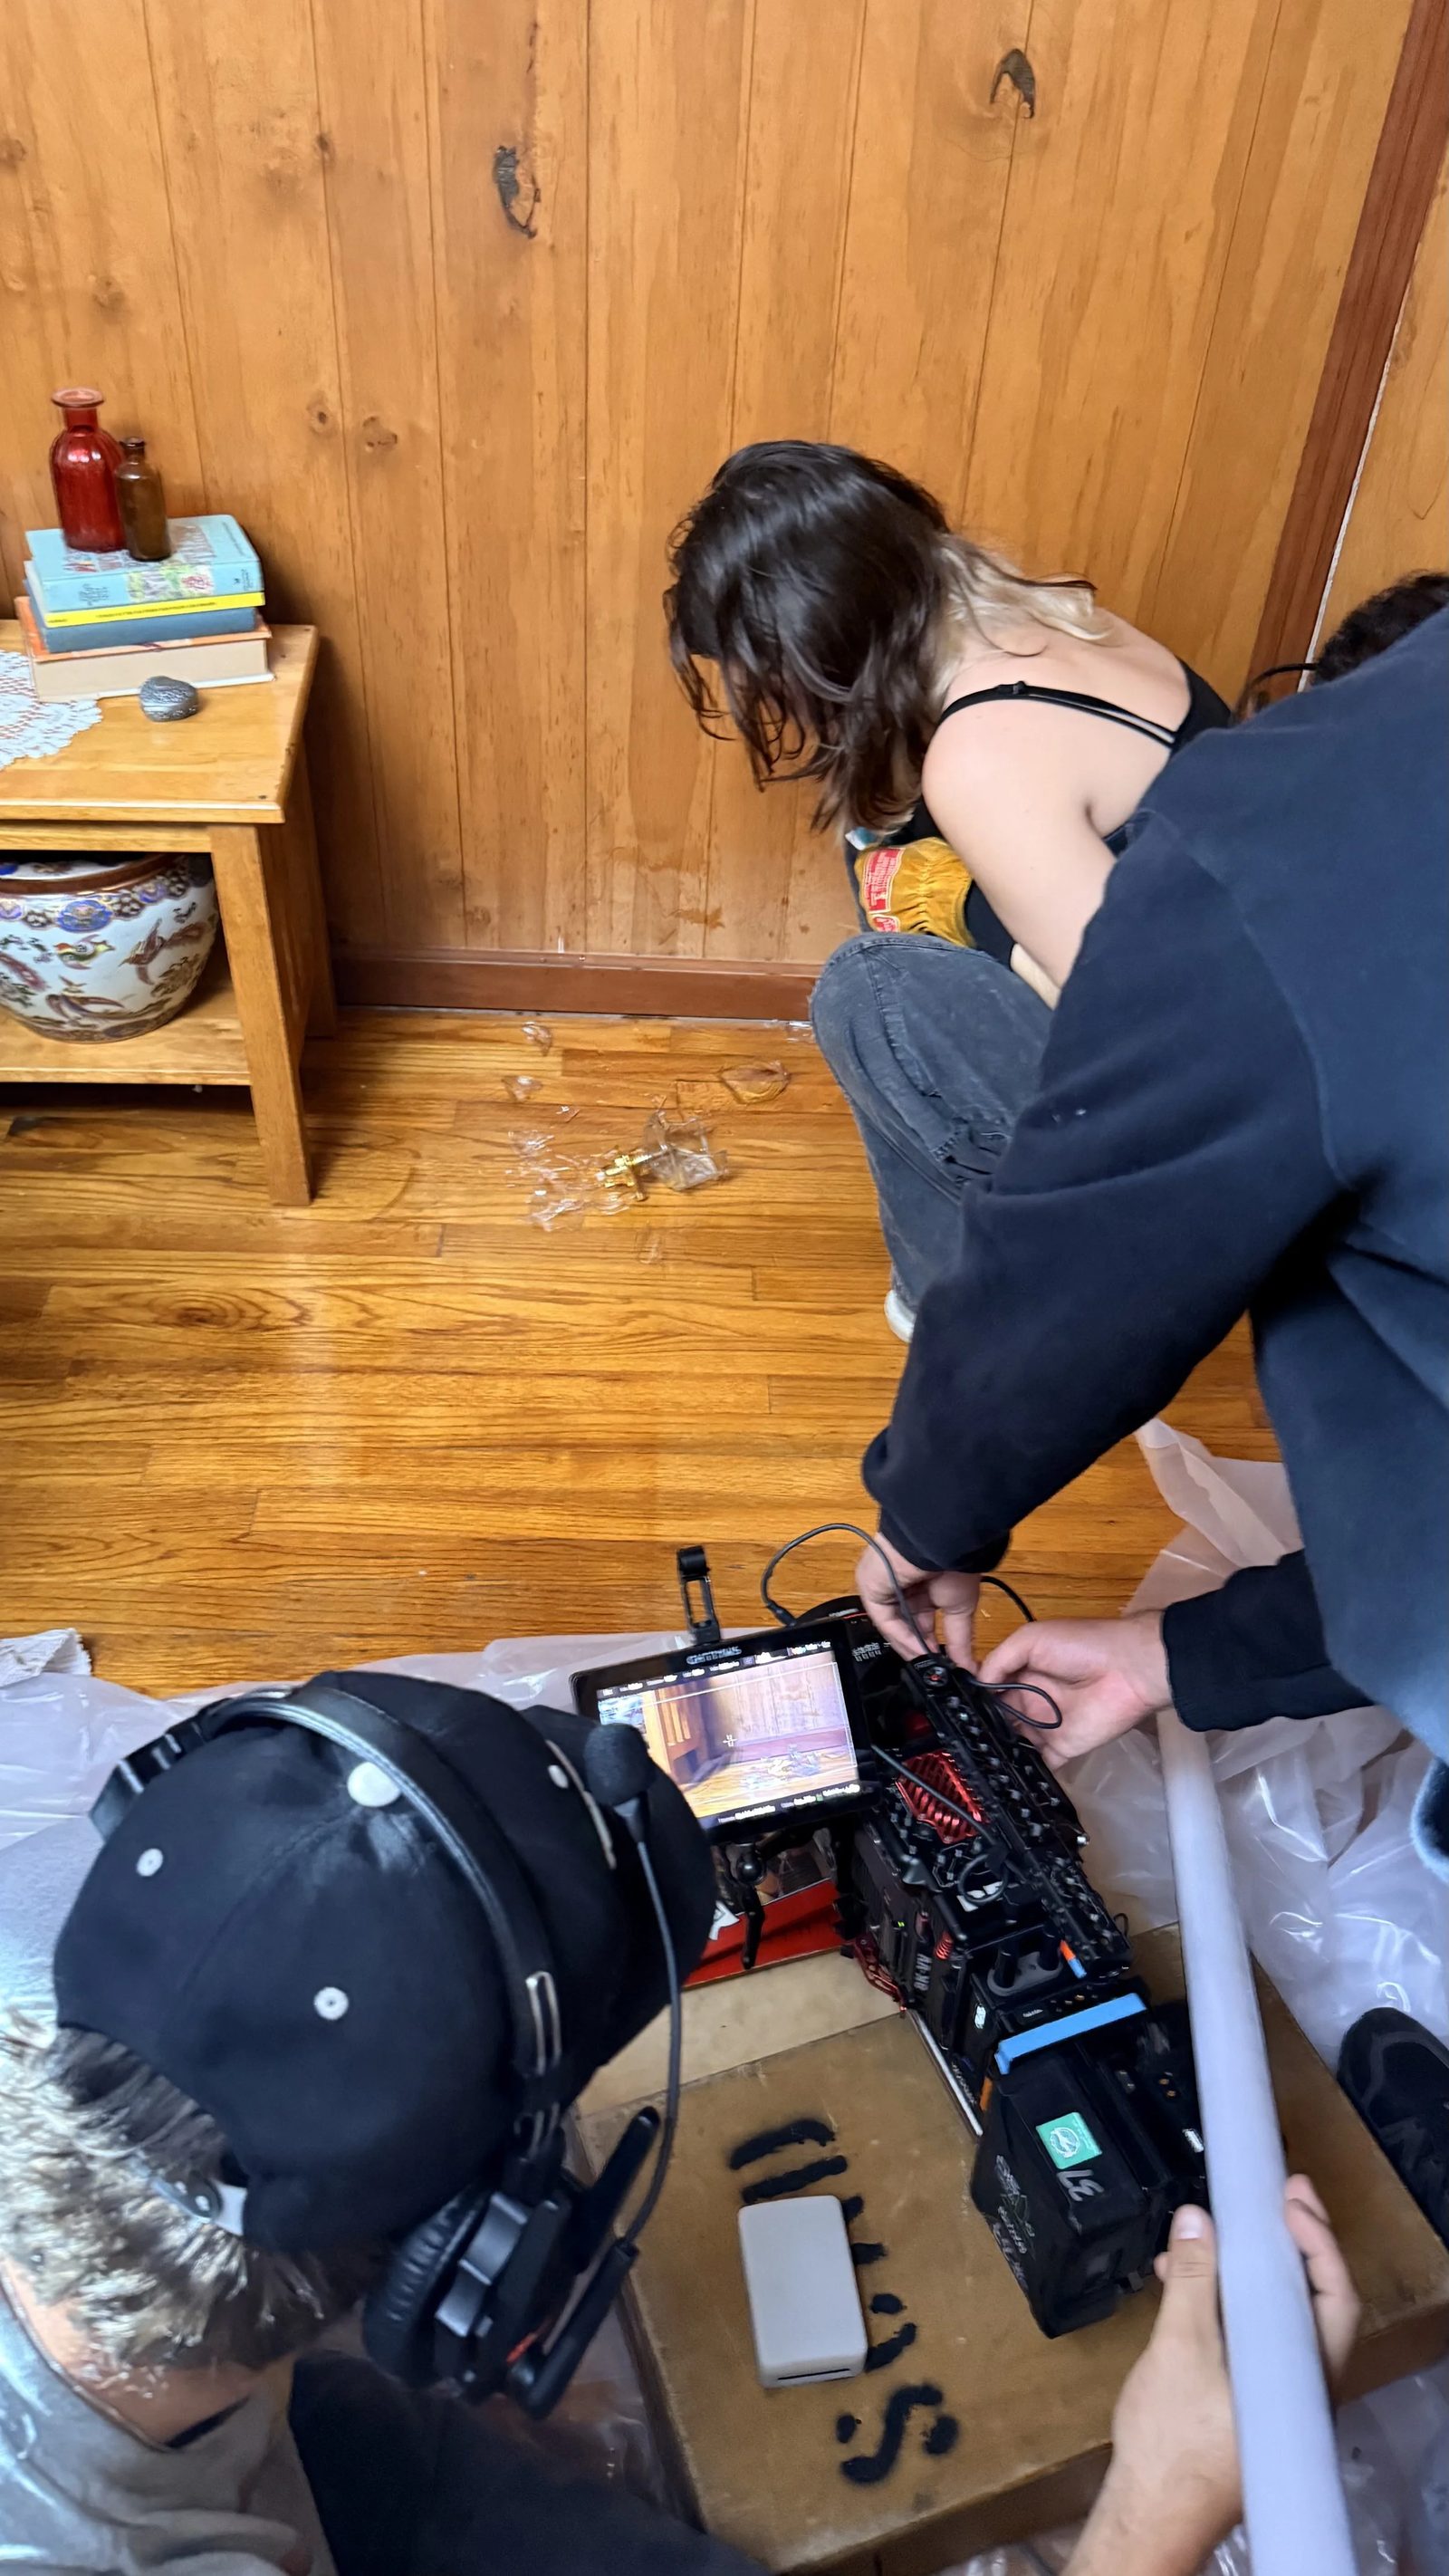
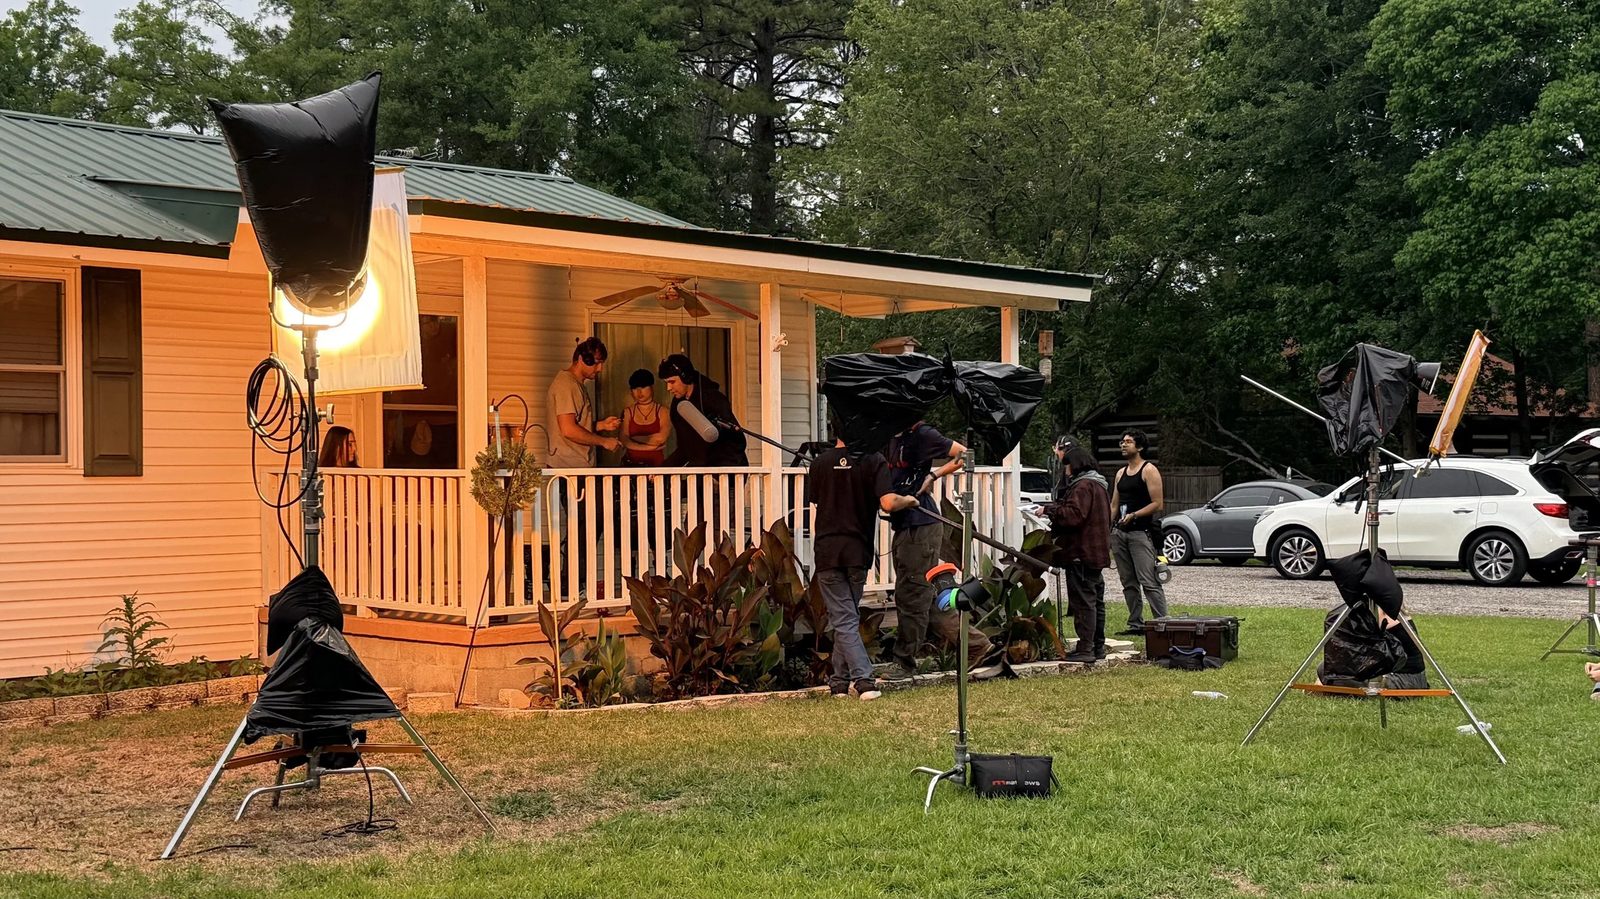
VFX starts on set, not in Houdini. Even the best chef needs good ingredients: no pipeline work in post can fix footage that wasn't shot with post in mind.
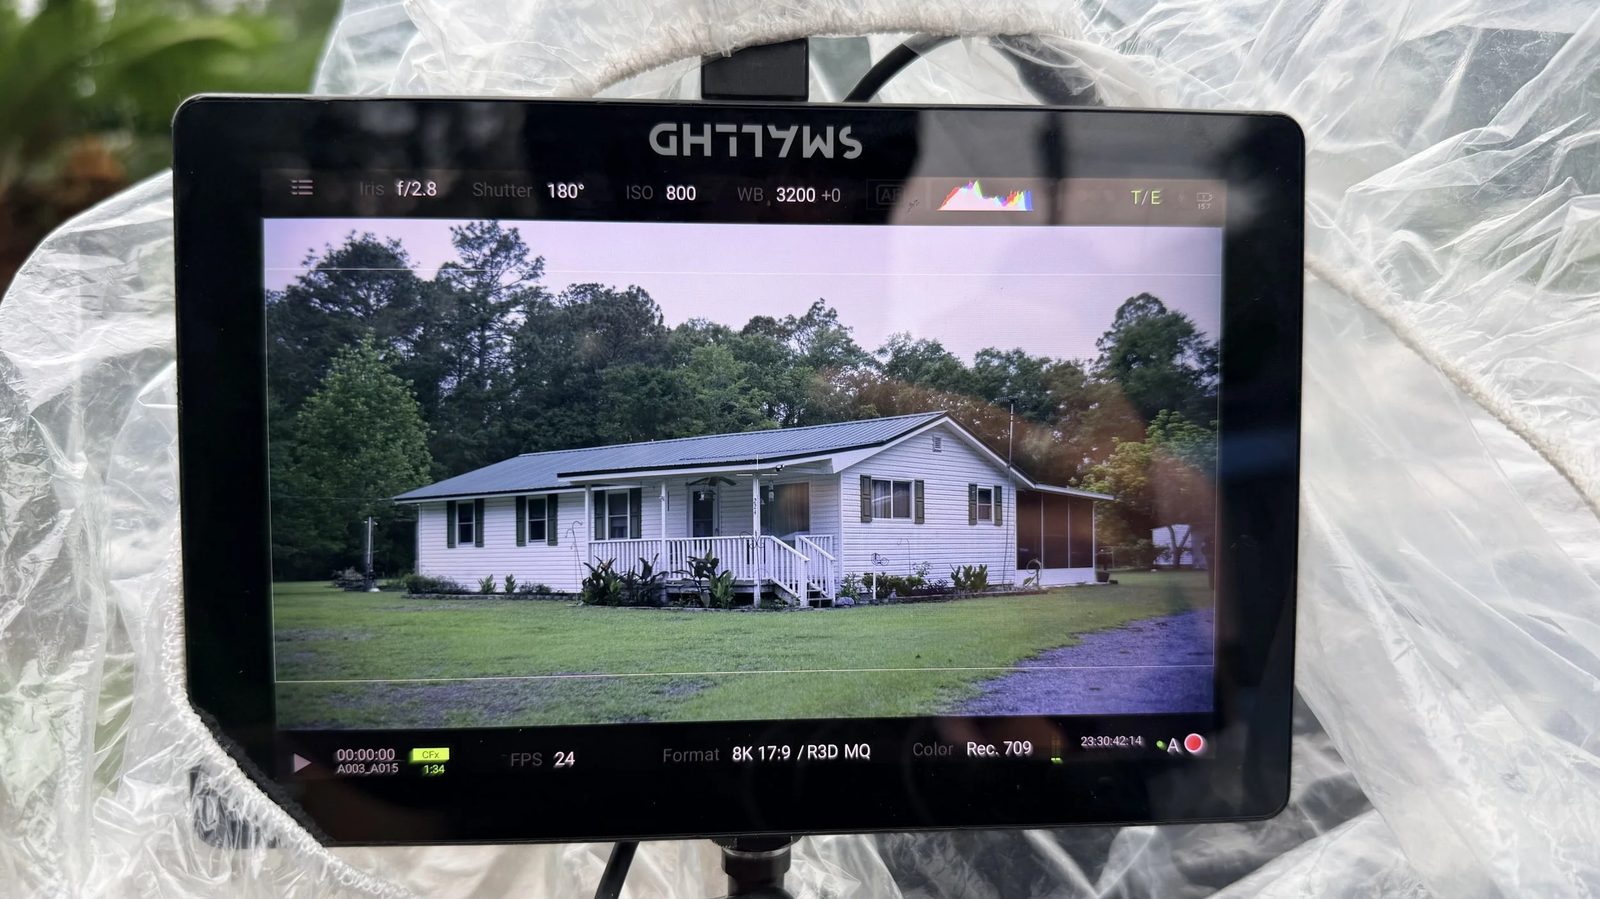
Across the whole sequence, I learned what the director wanted from each shot and translated it with the DP into lighting, framing, and setup choices that post could build on. It was this crew's first time working with a VFX supervisor on set, so we learned from each other.
Capturing reference
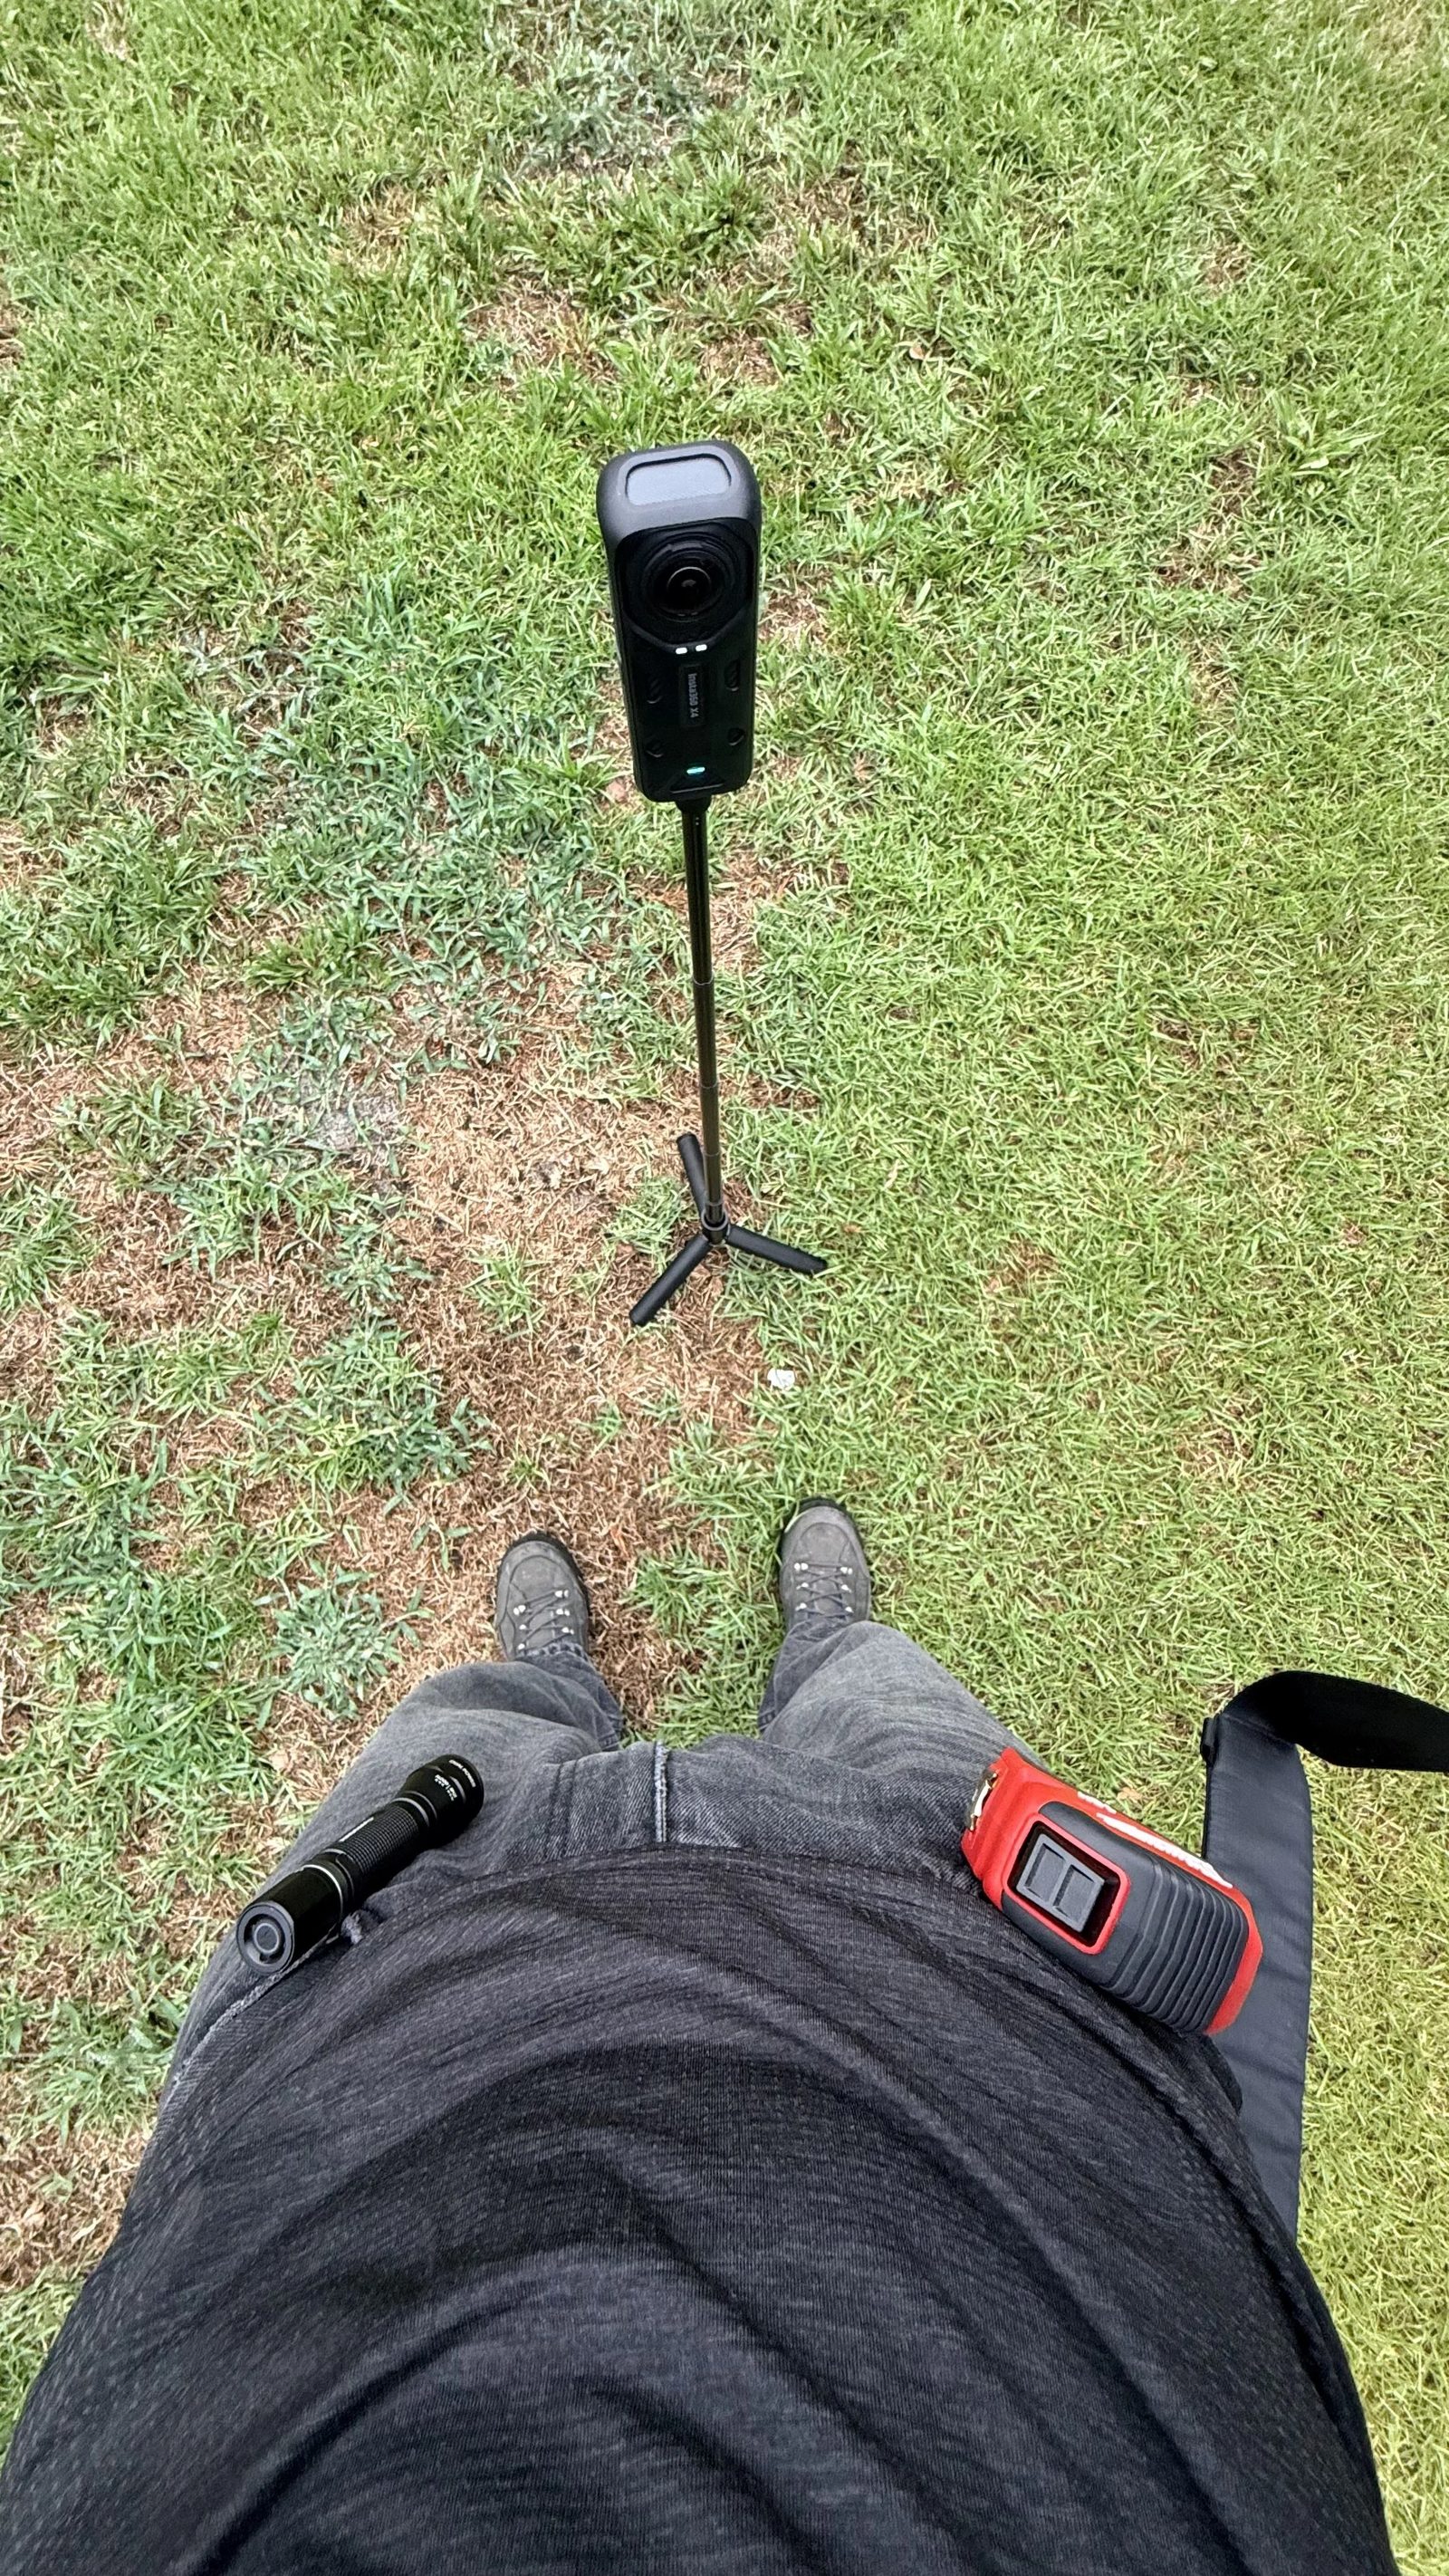
I shot HDRIs of the bedroom and the house exterior on an Insta360 X4 for lighting reference.
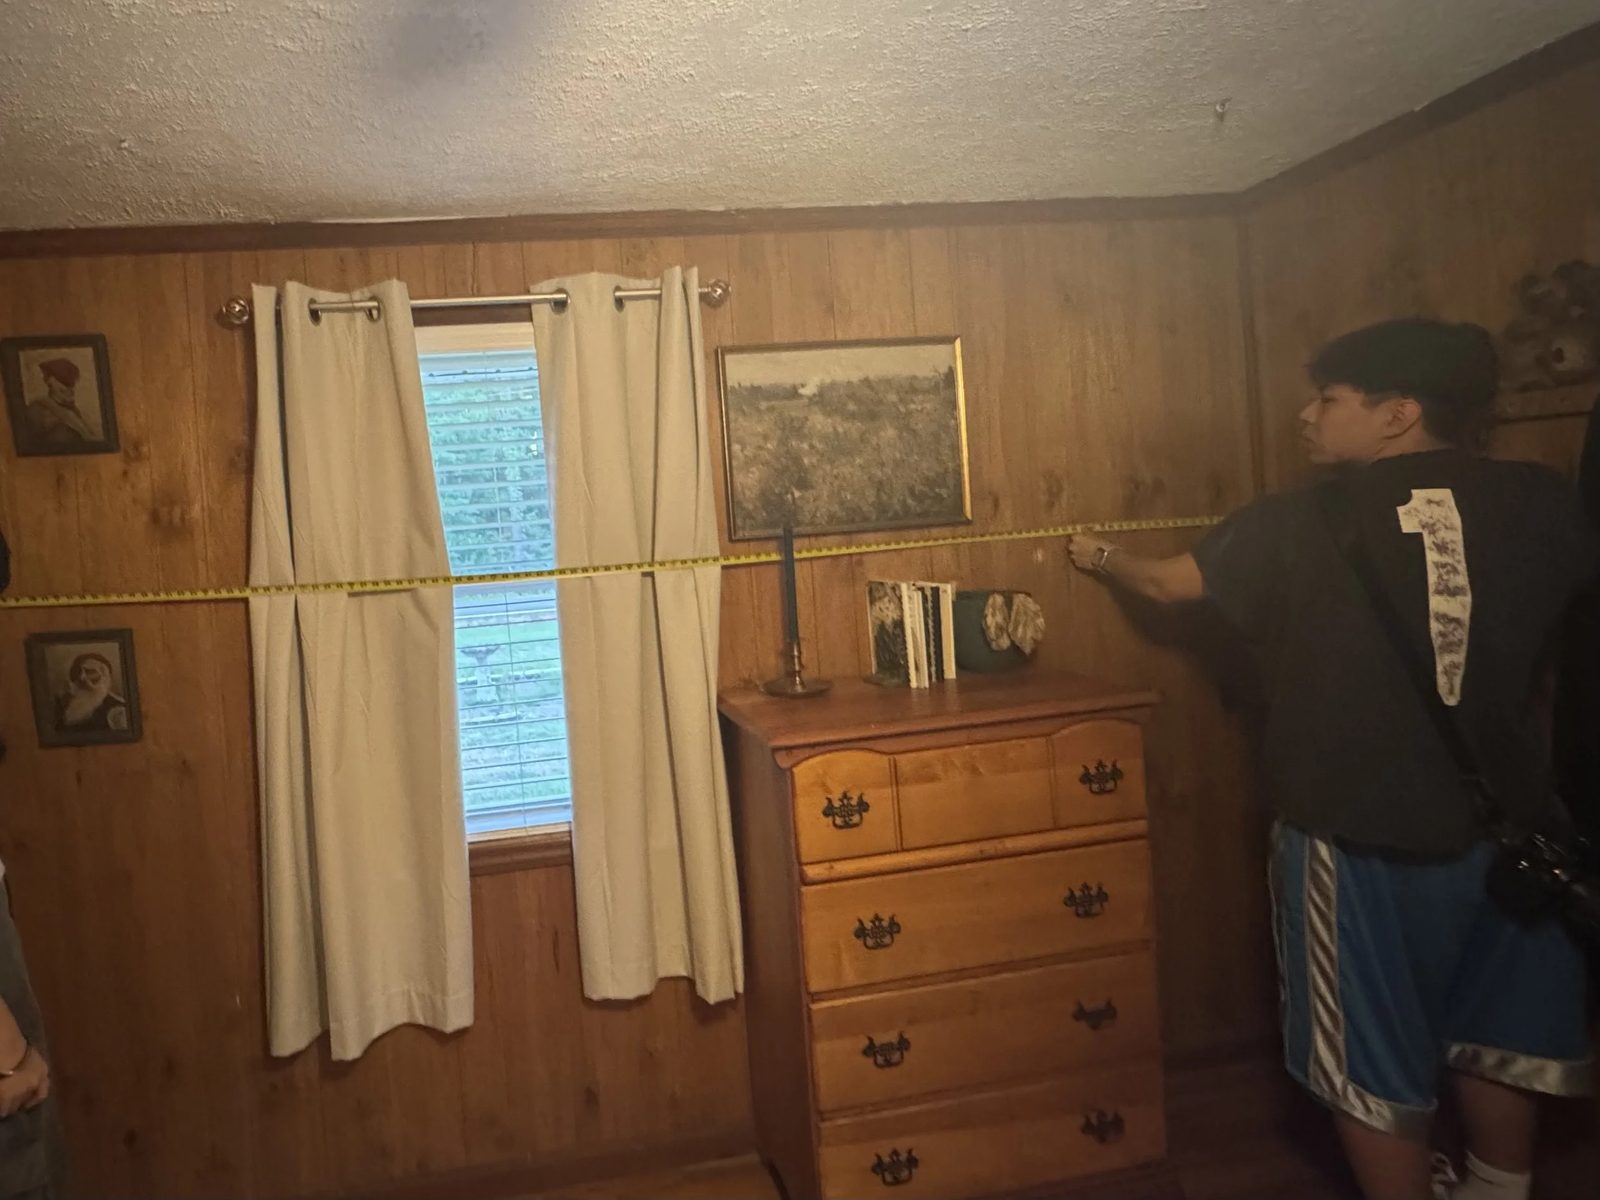
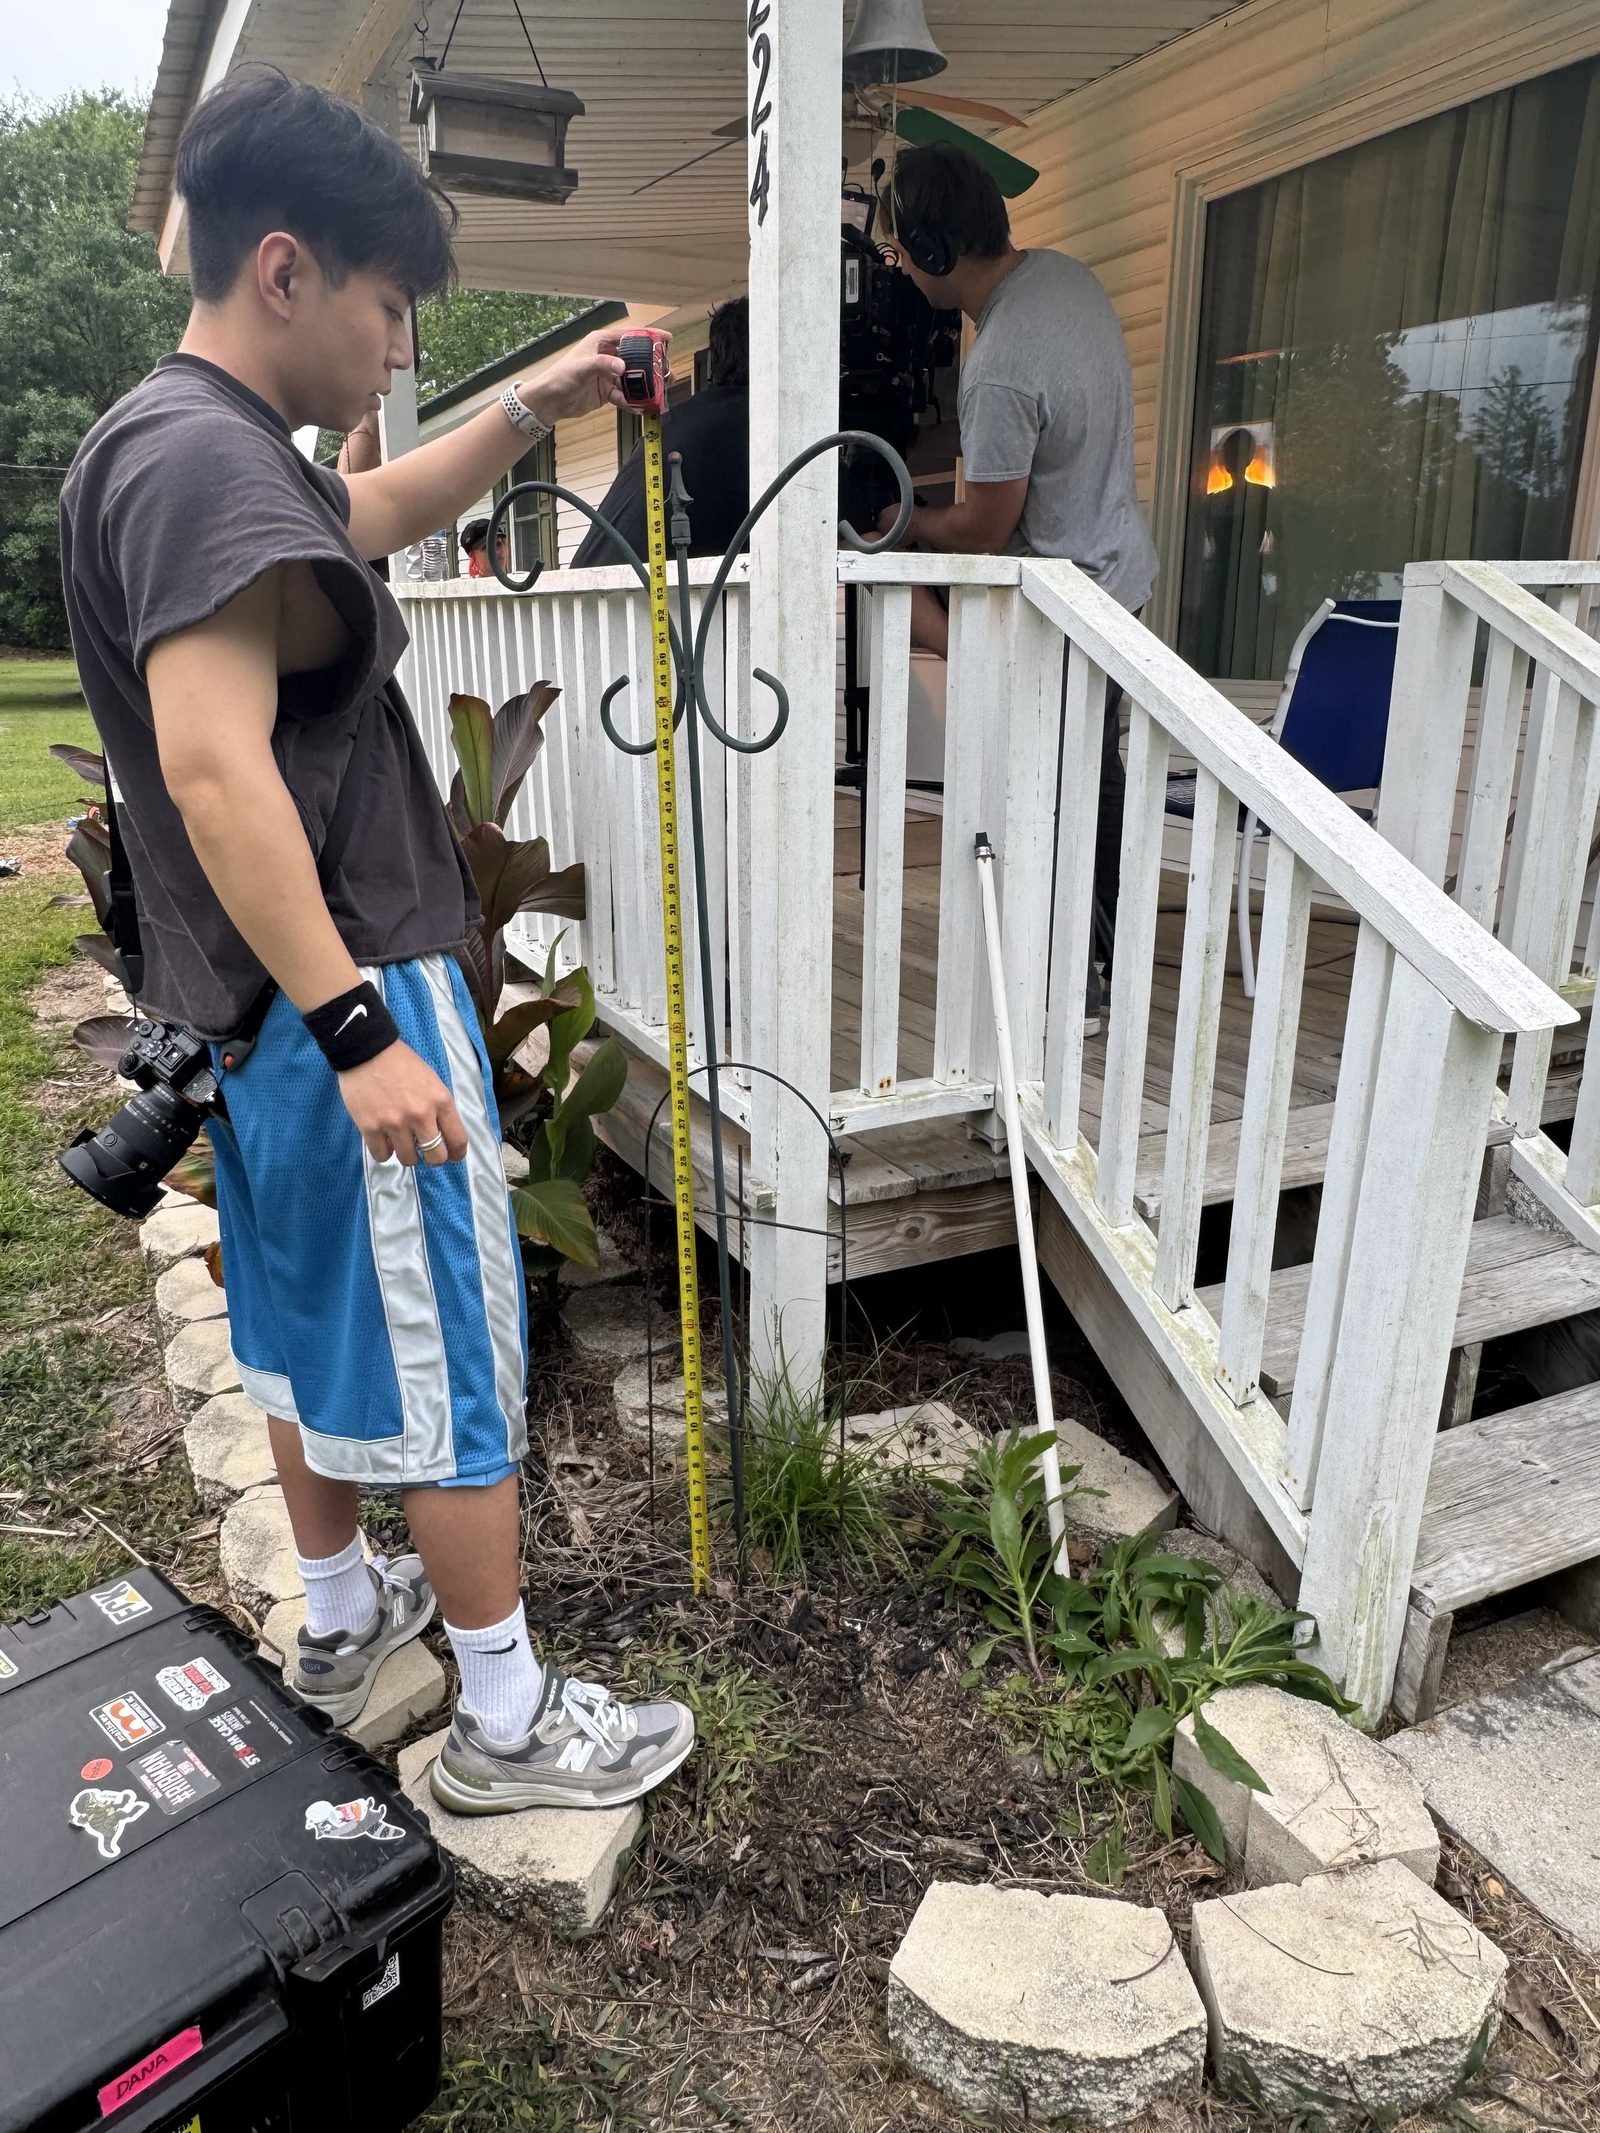
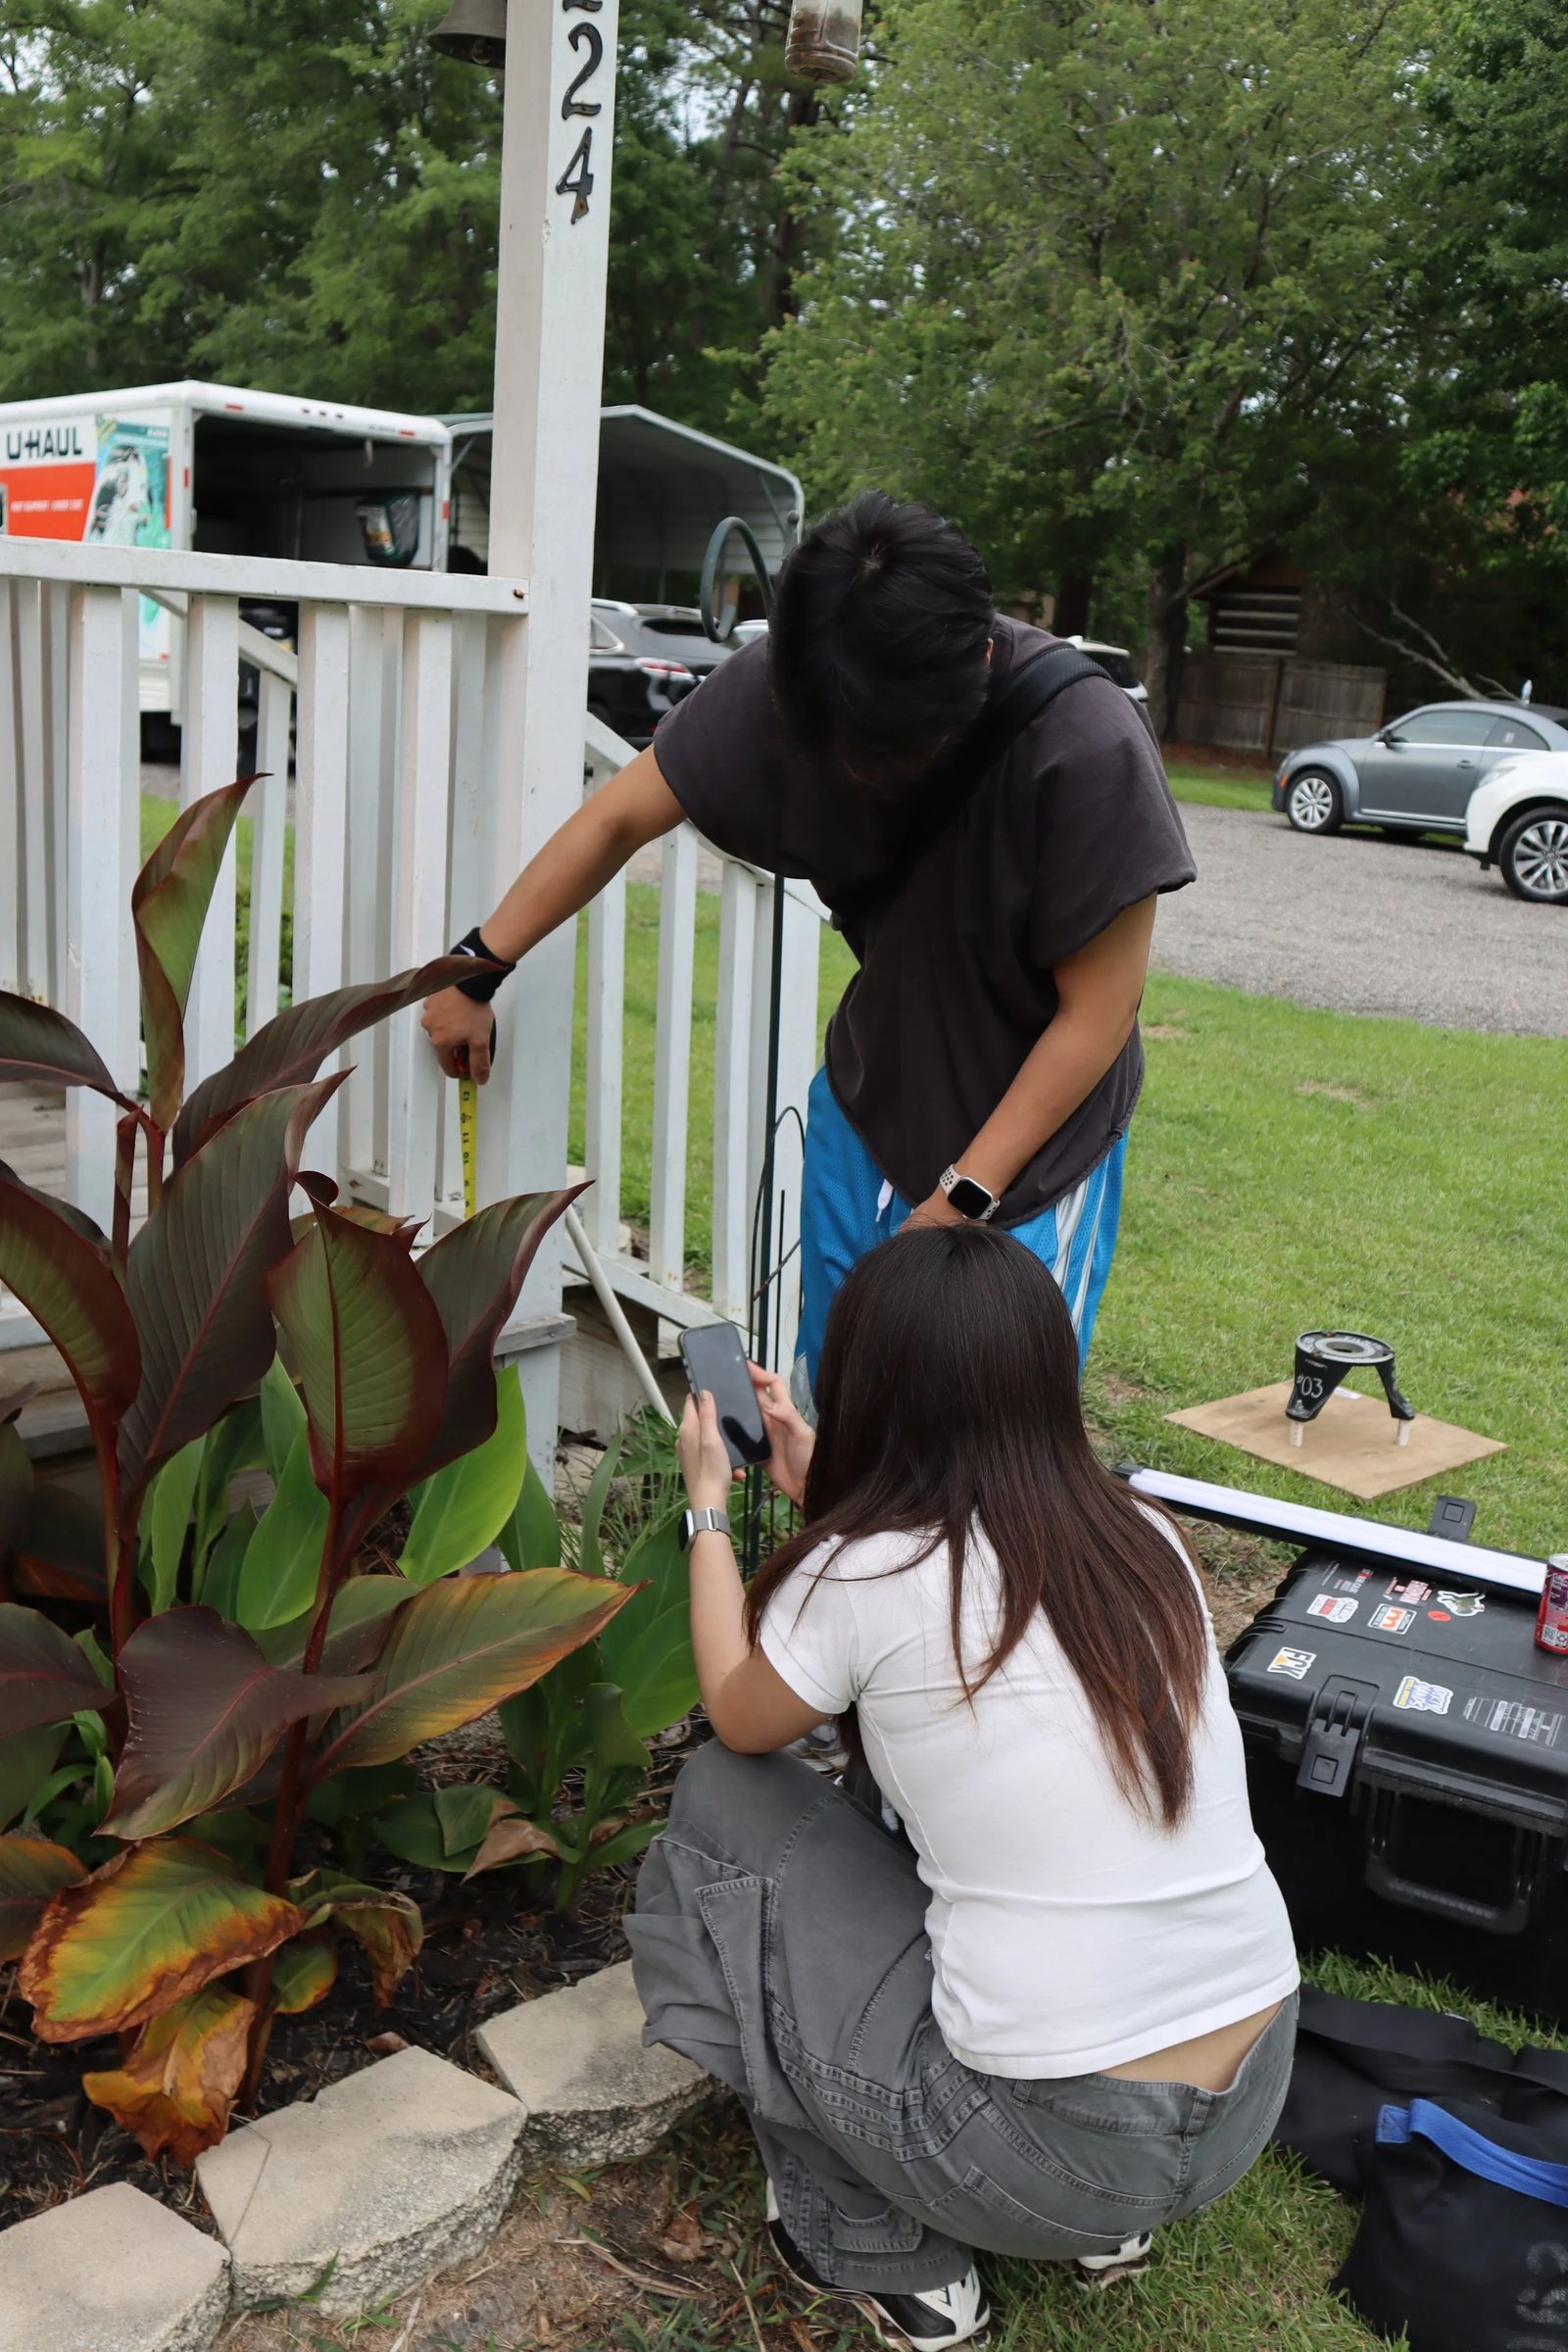
Two team artists joined as VFX PAs to measure what we'd later model or camera-match (house dimensions, key distances, reference points), shoot photo reference, and log camera data. One PA would have sufficed; I brought two so both could get their first on-set experience.
The case for a CG house
In planning, the director, producer, and art department proposed building and burning a miniature house. I pushed back: a practical burn gives one take, no control over the fire, scale that rarely reads on camera, and a real risk it won't sell as full-size. The team agreed to a fully CG house, with full control over fire behavior, scale, and iterations.
Catching a pacing problem
During storyboarding I asked the director how strong the fire should be per shot, and the plan looked fine on paper. On set, once I saw how the shots would cut together, I flagged that the house went from spark to fully engulfed in 15–20 seconds. Fire doesn't spread that fast. We adjusted the pacing on the spot so the escalation felt believable.
A consistency lesson
For two shots of fire reflected in an actor's eyes, the crew didn't share the lighting setup or camera data (lens, aperture, distance). I was on set, but no one told me it was a VFX shot until it was done. Our compositors made it work, but the missed communication cost post extra work and risked a weaker result. That's what "good ingredients" means in practice.
Pipeline
With six artists working in parallel, the pipeline had to be locked before anyone started, not figured out shot by shot.
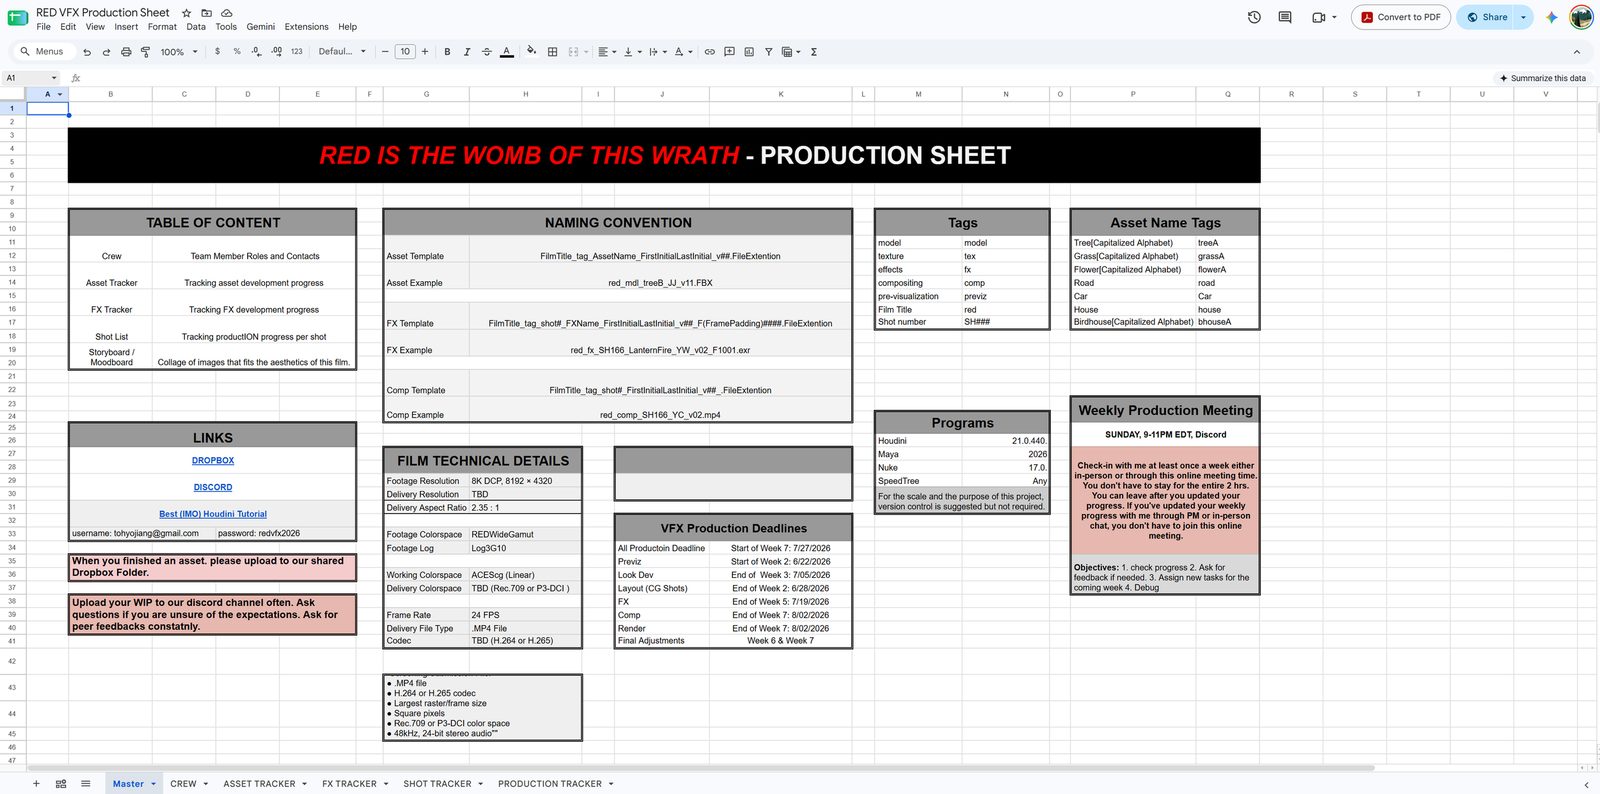
Color — ACES/OCIO. The footage was shot in RedWideGamut with a Log3G10 curve, unlike any CG render. Working in a single space (ACEScg) was non-negotiable: it's the only way to give accurate color notes and to judge whether a CG element truly sits in the plate. Houdini, Nuke, and Maya all support ACES natively, so no tool fought the pipeline. After comp, shots went back to RedWideGamut so the editor could grade CG and practical shots consistently.
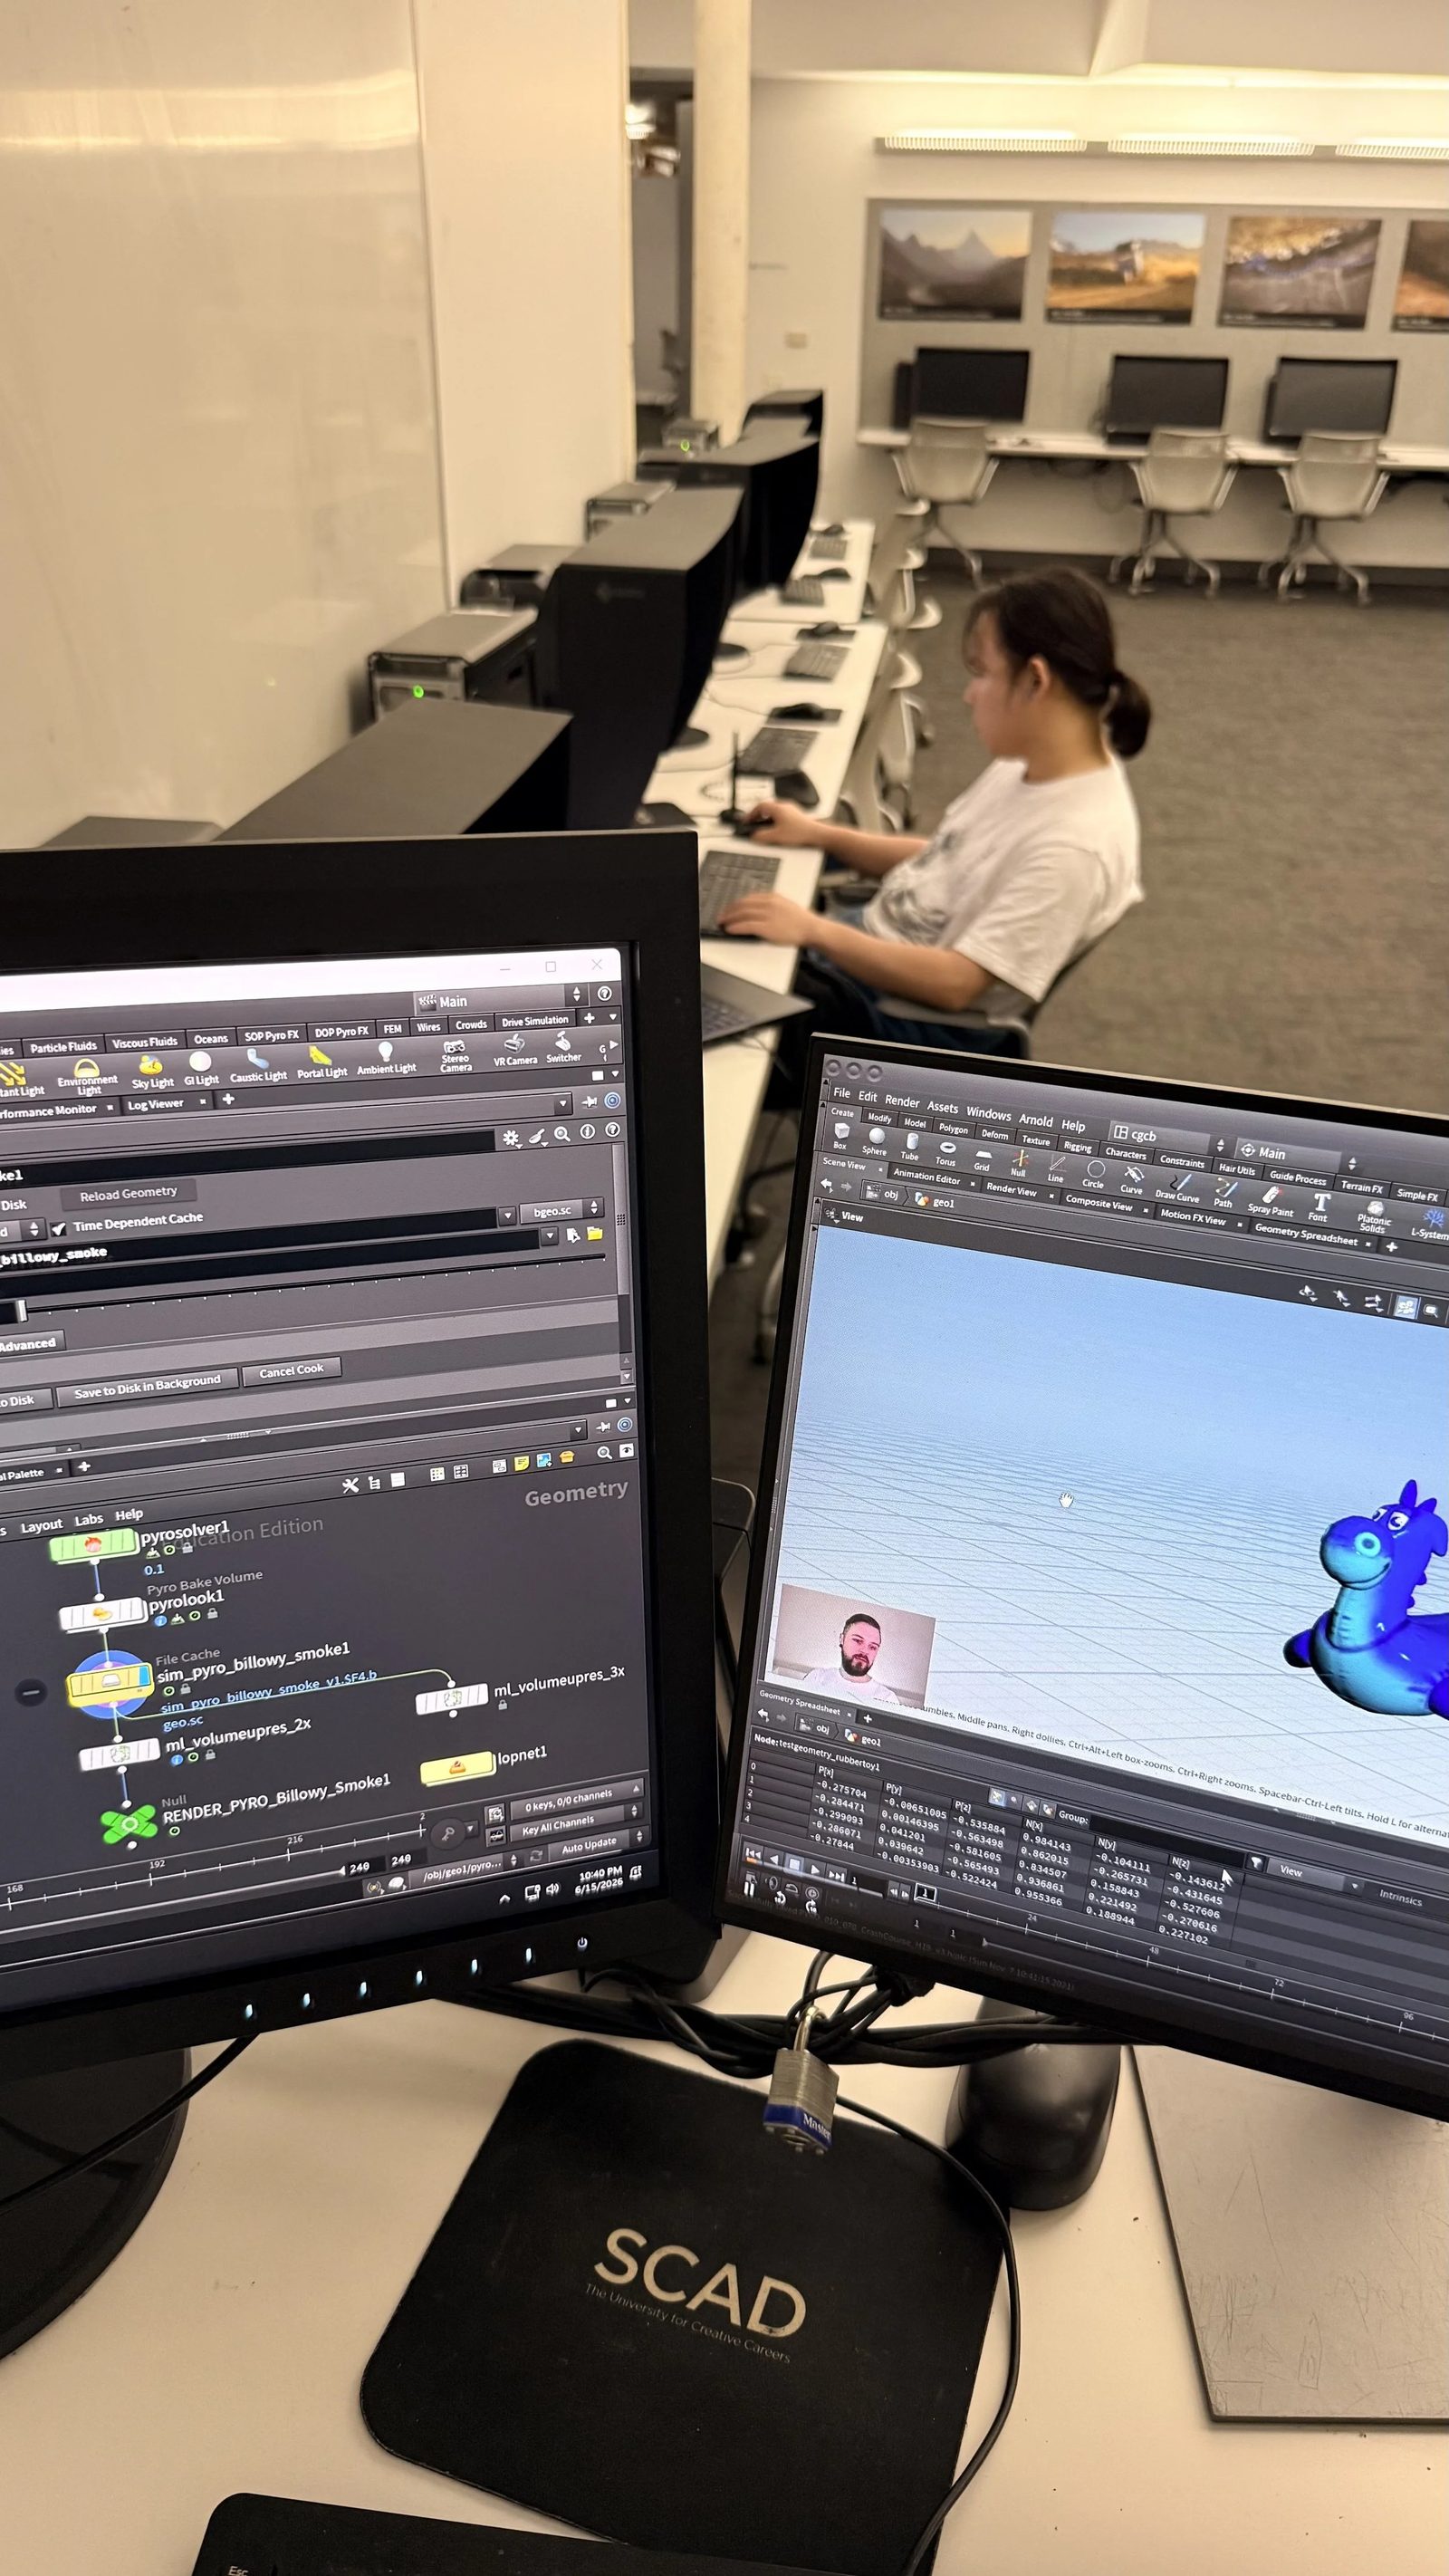
Render — USD, Solaris, Karma. All fire and smoke were built in Houdini, so Karma's native volume rendering beat exporting to a third-party renderer. One exception: our lead modeler/lookdev artist Jay had already built the car side-mirror shot in Maya with a large asset library, so we brought the fire in as a VDB and rendered in Arnold rather than rebuild it in Houdini.
Interchange — FBX. Cameras and house models came from Maya into Houdini via FBX.
SH180 deep dive
SH180 is the climax: fire venting through a window in one sustained, directional arc as the house fully commits to burning. If one shot had to carry the "wrath," it was this one.
Creative target
The bar was higher here: SH180 had to read as the film's turning point, not another burning-house beat. The fire needed to vent outward with intent, not billow generically, and that shaped nearly every sim decision.
Simulation
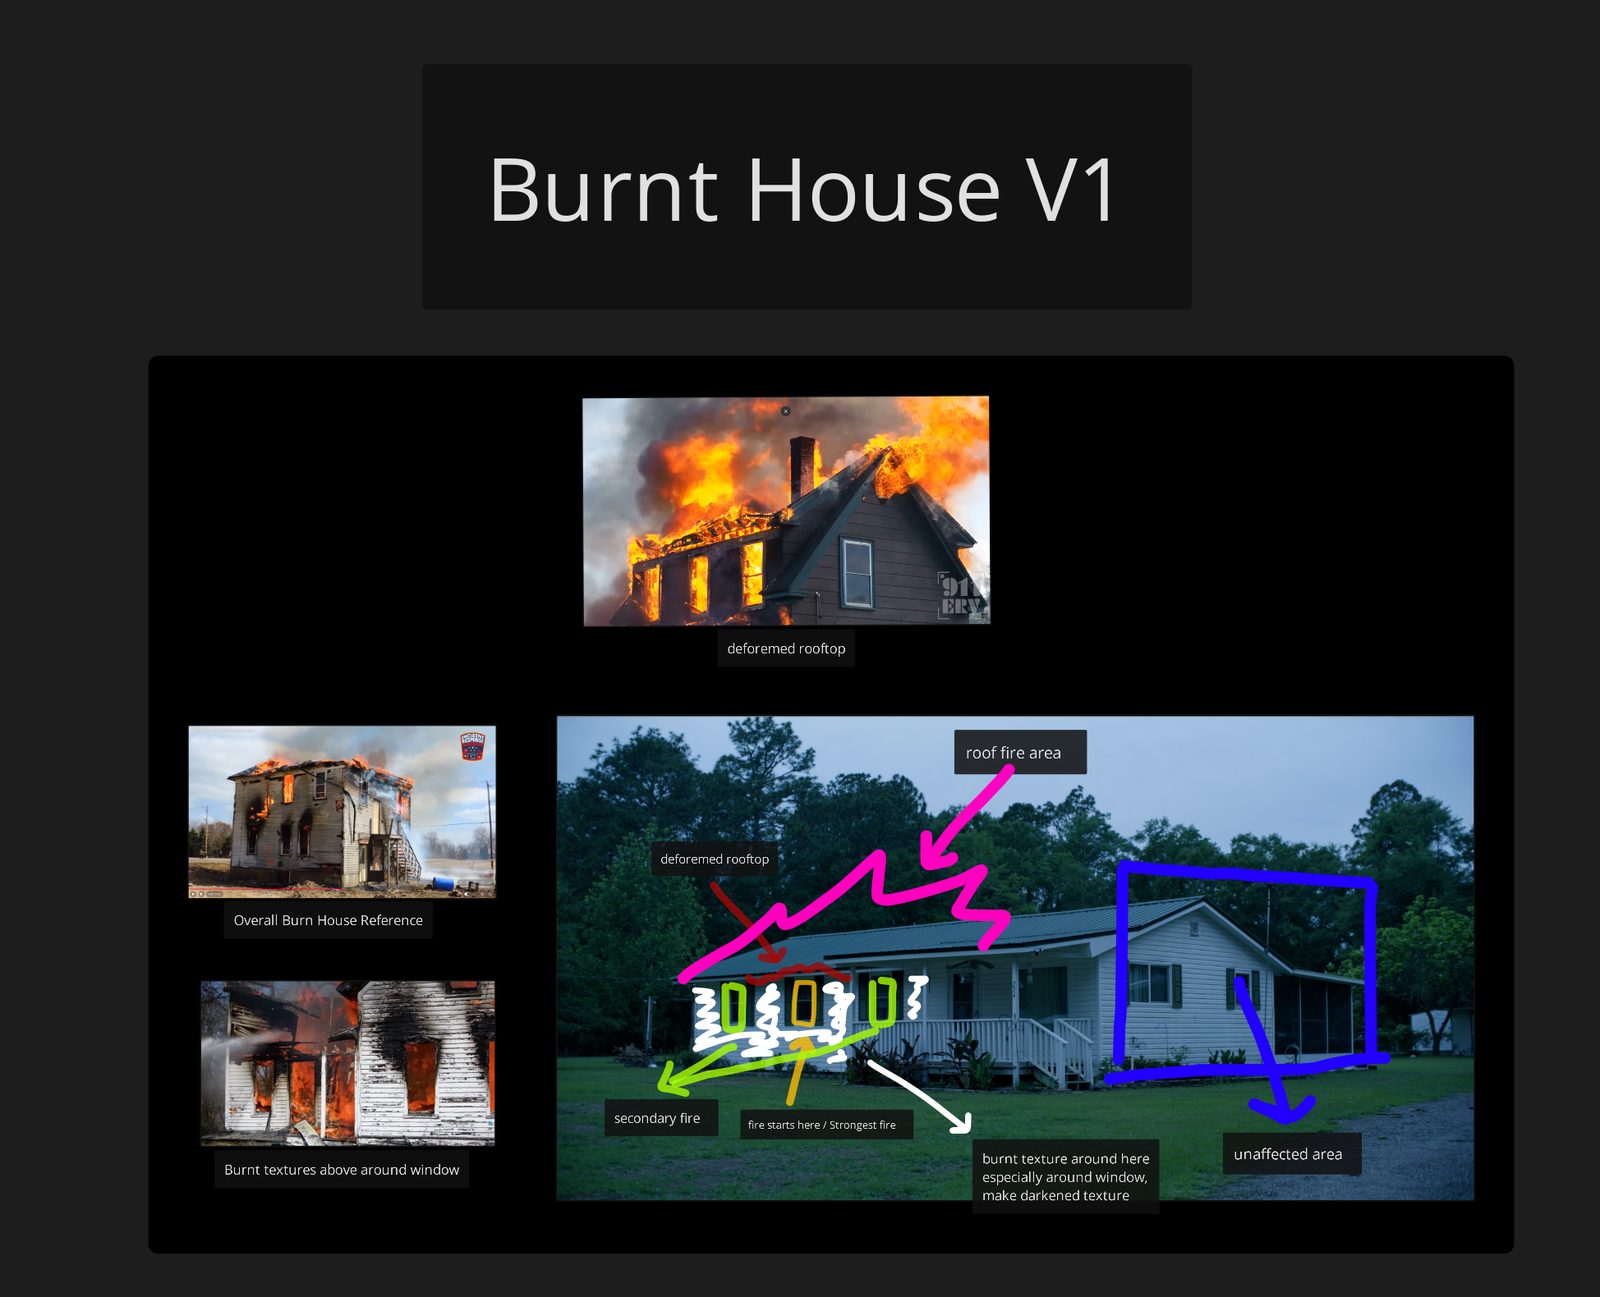
SH180 is several separate sims, not one: each of the three windows, the roof, ground scatter fire, indoor filler fire, and a secondary smoke leak. That let me tune each fire independently instead of fighting one monolithic sim.
The hardest problem was getting the window fire to curve along the roof edge instead of venting straight out. Pyro's curve force microsolver bent the shape too aggressively and lost detail, so it no longer read as fire. Instead I used initial velocity plus wind, letting the fire's own motion carry it along the arc.
Shading
Each source also got its own shader tuning for color, intensity, and density. The window fires, for example, needed thinner smoke than the roof. For the windows, I added partial transparency inside the flame and let the indoor filler fire show through, so the fire reads as sitting in front of a burning interior rather than as a flat cutout.
Rendering
I rendered in Karma and kept the shot flexible for comp. Instead of rendering noise-free, I left some noise and denoised in Nuke with Neat Video, keeping control over the noise/detail tradeoff. Instead of rendering motion blur, I output a motion vector pass so blur could be adjusted or disabled per shot without a re-render.
Cryptomatte failed on the SCAD renderfarm: in Karma 21.0.440 it won't read correctly in Nuke unless a manifest file path is set explicitly. AOVs also took trial and error, including a real Karma XPU bug. Both fixes are in the Q&A below.
Team
The pipeline gave every shot a shared foundation. Leadership meant making sure six busy people actually used it well.
Team structure
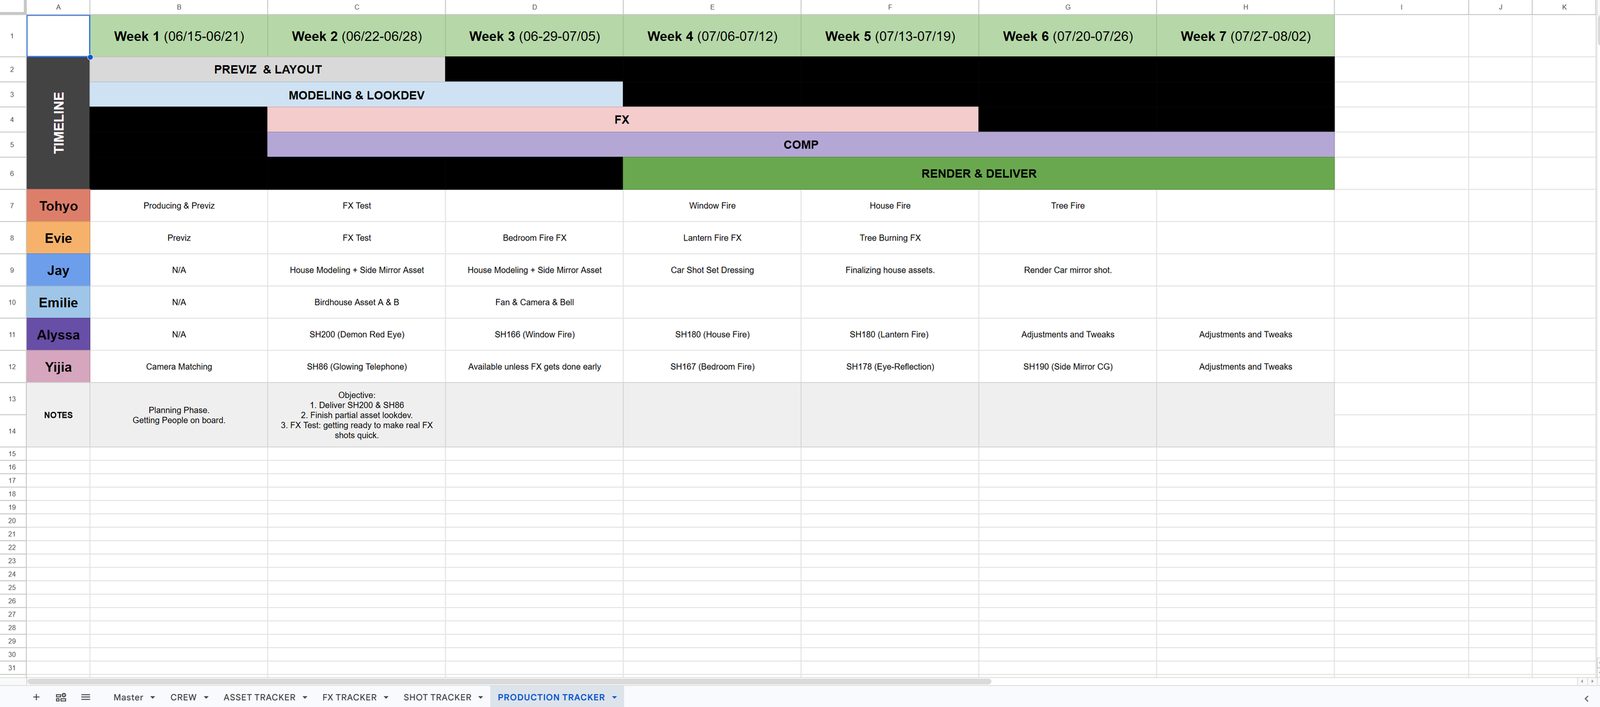
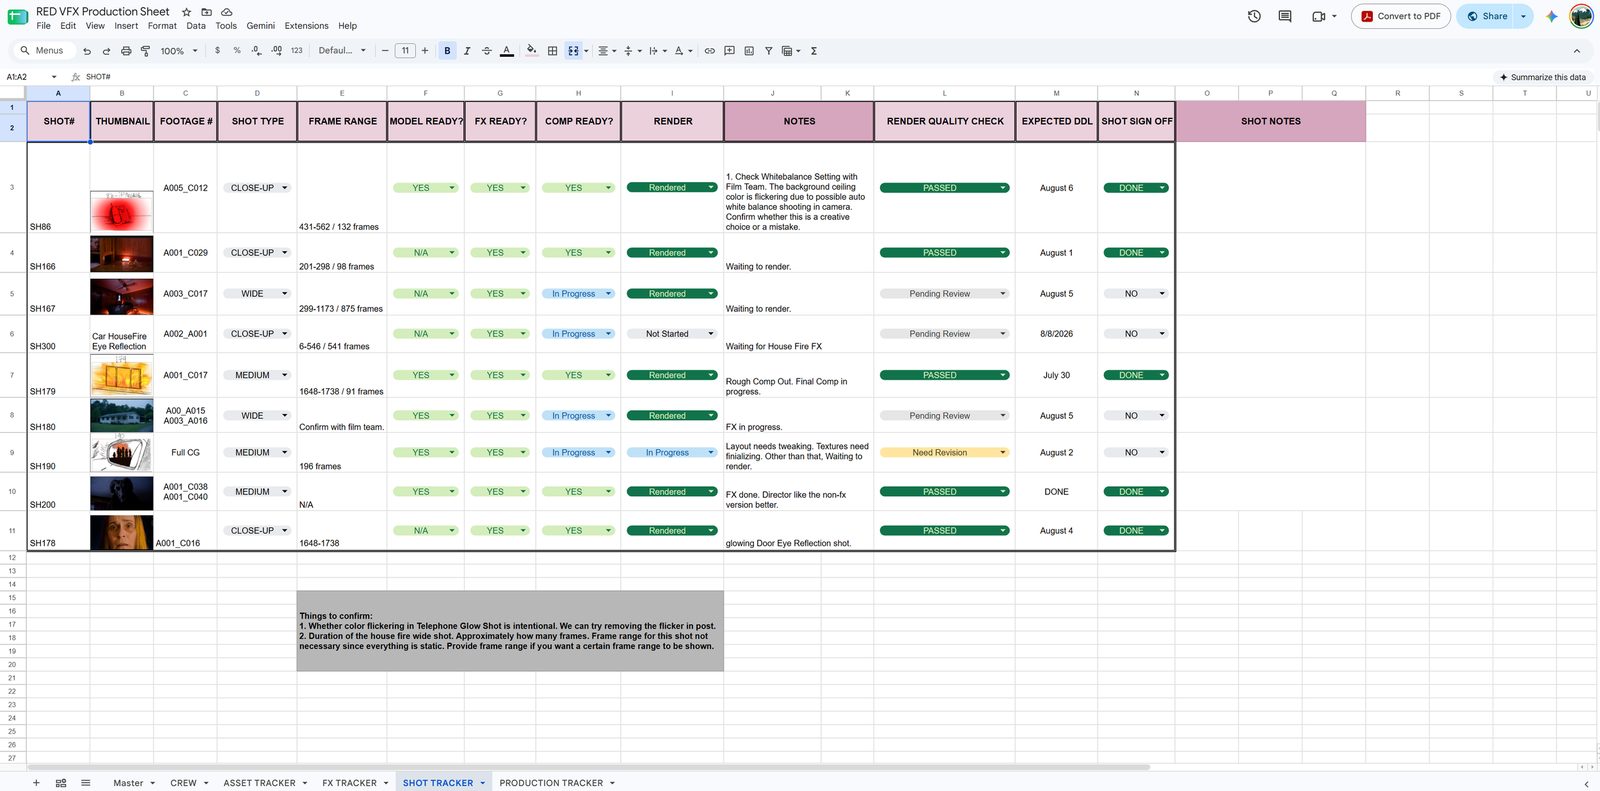
VFX sat inside a larger crew (director, producer, editor) and reported through me. The six of us split roughly into modeling/lookdev, FX, and comp, but ownership was tracked per shot:
Delegation under constraint
No one, including me, could work on this full-time. I split the two months into weekly phases (previz/layout, modeling/lookdev, FX, comp, render/deliver) and assigned shots week by week so the plan could flex with people's availability. I also set deadlines earlier than necessary to absorb the delays I knew were coming, which paid off more than once.
Communication & review cadence
A weekly Discord meeting (Sundays, 9–11PM EDT) covered progress, feedback, next week's tasks, and anything blocking. Anyone who had already updated me that week could skip it. Between meetings, I answered technical and direction questions as fast as I could, and everyone posted WIP often for peer feedback, so problems surfaced before deadlines, not at them.
A leadership moment
One artist fell well behind despite a paid course I'd provided and ample prep time. I stepped in, taught the technical fundamentals myself, and debugged their work several times.
It was frustrating, but my job was to deliver the shot and get the artist unstuck. I walked through the process step by step until they could work independently. The result was solid, if not perfect, and they finished the assignment.
What leading taught me
When a shot goes wrong, the question isn't whose fault it is but what happens next. That lesson came up again and again.
The other half was listening. I constantly asked the team: is there a better way, will this hold up in the time we have, does it read the way we think? I was the supervisor but also a student learning alongside them, and treating their pushback as information rather than a challenge consistently made the shots better.
Final result
Lessons
What I'd do differently
Join the planning meetings. I was consulted on fire intensity per shot but not on how the sequence would flow, so the pacing problem needed a last-minute save on set. Being in the room earlier would have caught it at the storyboard stage.
Align render machines before production. SH180's cross-machine color mismatch came from different OCIO/Karma defaults on artists' machines: a five-minute check at pipeline setup that I ended up debugging mid-sequence under deadline.
Check in on prep directly and early. I only learned the artist hadn't finished the course once they were visibly behind. An earlier one-on-one, rather than waiting for the weekly meeting, would have caught it.
Reflections
I went in thinking of myself as an FX artist who happened to be supervising. The pyro sims, Karma renders, and pipeline debugging were things I already knew. What I learned was everything around them: arguing for a CG house before a frame was shot, catching a pacing problem by listening to how the story would play, and teaching fundamentals patiently instead of taking the shot back.
What I'm proudest of is staying humble enough to keep listening. Supervising doesn't mean having every answer. It means making sure the team finds the right one, together, in time.
Tips
For anyone supervising their first VFX sequence:
- Lock color, render, and interchange decisions before anyone touches a shot.
- Give the team one shared reference board (PureRef or similar).
- Join planning and storyboard meetings, not just the ones you're invited to. Problems are cheaper before they're locked.
- Schedule in phases, assign week by week, and set deadlines early to build in buffer.
- Check in on prep and progress directly and early.
- On set, protect what post will need: HDRIs, measurements, camera data, lighting notes. Crews new to VFX won't know what to flag; catching it is part of your job.
- When something breaks, ask what happens next, not whose fault it is, and ask your team whether there's a better way.
- Give specific direction. Name the subject and object, and avoid vague words like "this," "that," "better," and "worse." A visual reference beats a paragraph.
- Own the final image. If something isn't working, ask for a revision politely but clearly. Saying the hard thing respects the work and the team's time more than letting it slide.
Q&A
Technical problems from across the sequence and how they were solved. More to come.
Q: Fire rises straight up but the smoke above it drifts sideways — why don't they match?
Buoyancy was overpowering wind. If the temperature field is too strong relative to the wind force, the fire outruns the wind before it can bend the plume. Fix: rebalance temperature field strength against wind.
Q: I need the hottest core of the fire to read as transparent, but density and temperature are linked — how do I separate them?
Decouple density from temperature in the volume cache with a fit remap (VEX or Volume VOP) instead of masking it in the shader. Caching the result makes it reusable across passes.
Q: My volume AOV renders pure black — is the shader broken?
Usually one of two causes. (1) If it's a diffuse AOV, that's expected: volumes have no diffuse BSDF, so check Volume Direct/Indirect and Emission instead. (2) If a dedicated volume AOV is black, check the light's Volume contribution toggle, then a known Karma XPU bug that renders volume AOVs blank. Workaround: disable "Create Render Var" on the shader's AOV VOPs and add the render var manually under Image Output → Extra Render Vars.
Q: Cryptomatte works fine locally but doesn't show up in Nuke when rendered from the farm.
Karma's multi-part EXR writer doesn't reliably embed the Cryptomatte manifest. Fix: set an explicit Manifest File path on the Karma Cryptomatte LOP so husk writes a sidecar .json, then point the Nuke Cryptomatte node's Manifest Source at that file.
Q: Farm render crashes with exit code 139 (segfault) — where do I even start?
Check for hardcoded absolute paths. $HIP/$OS expressions can bake into machine-specific paths (e.g. a Windows drive letter) at USD export instead of evaluating at husk runtime on the farm, which corrupts the EXR writer on a different OS. Fix: use relative, portable paths.
Q: Still crashing after fixing paths — what else could it be?
OpenEXR's multithreaded scanline compressor can hit a race condition when too many AOV channels go into one multi-part EXR with single-scanline ZIP compression. Fix: split heavy passes (like Cryptomatte) into their own Render Product and switch to multi-scanline ZIP blocks. Lowering Cryptomatte rank also helps if channel count is the bottleneck.
Q: Same scene renders different fire color on two different machines — which one is right?
Check the EXR's embedded color space tag rather than assuming. It may be reporting a real mismatch (e.g. one machine defaulting to Linear Rec.709 instead of ACEScg). Fix: read each file in its native space, then convert to your working space with an explicit OCIOColorSpace node before comp. Prevention: align OCIO/Karma output settings on every render machine before production starts.