Programming 3D Models and Shaders is a Houdini Copernicus/VEX shading class that utilizes the Solaris/USD workflow, taught by Prof. Timothy Steele. I was very excited to learn about all these topics. I've had enough figuring-things-out-on-my-own moments in Houdini (though those moments never really disappear as long as you're still working in this industry). I really needed a seasoned industry professional to guide me through this journey. Shading has always been my weakness, and I'm very grateful for this opportunity to take this class. This was also my first class at SCAD — everything was new and exciting to me.
Project 1: Succulent Shading
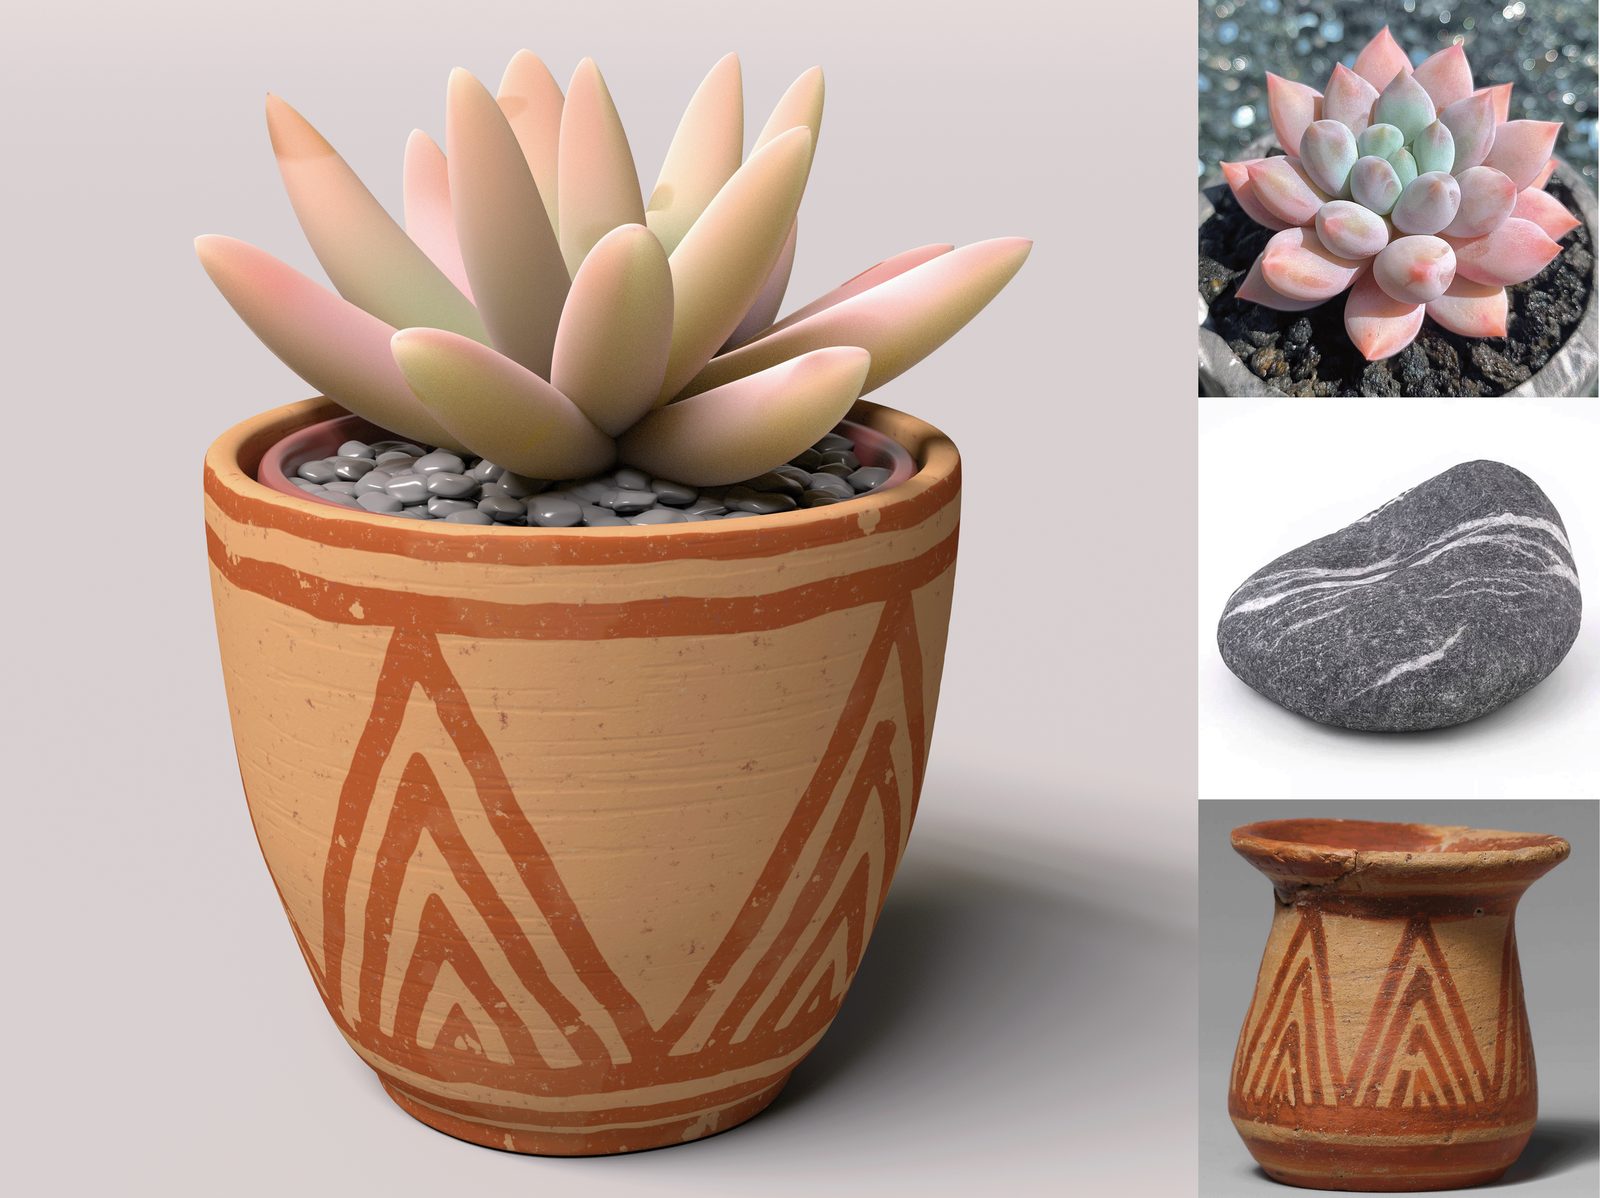
For Project 1, we were introduced to the basics of the Copernicus system and shading knowledge in general. The objective was to shade a given succulent plant model to match found references.
Project 2: Procedural Metal Tool
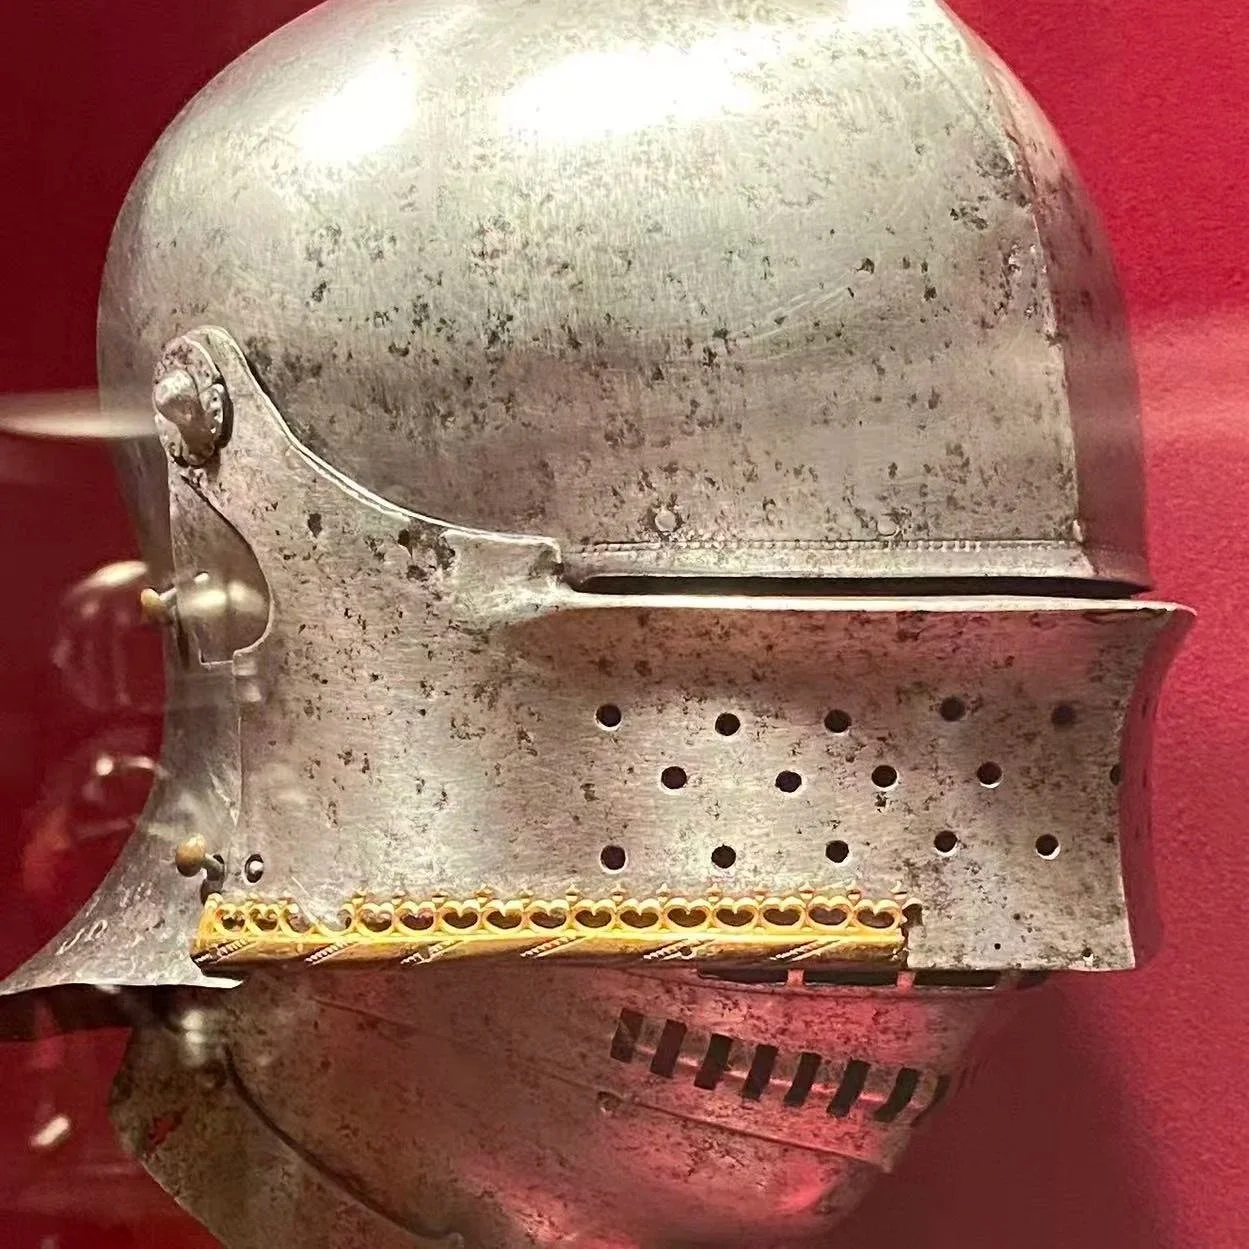
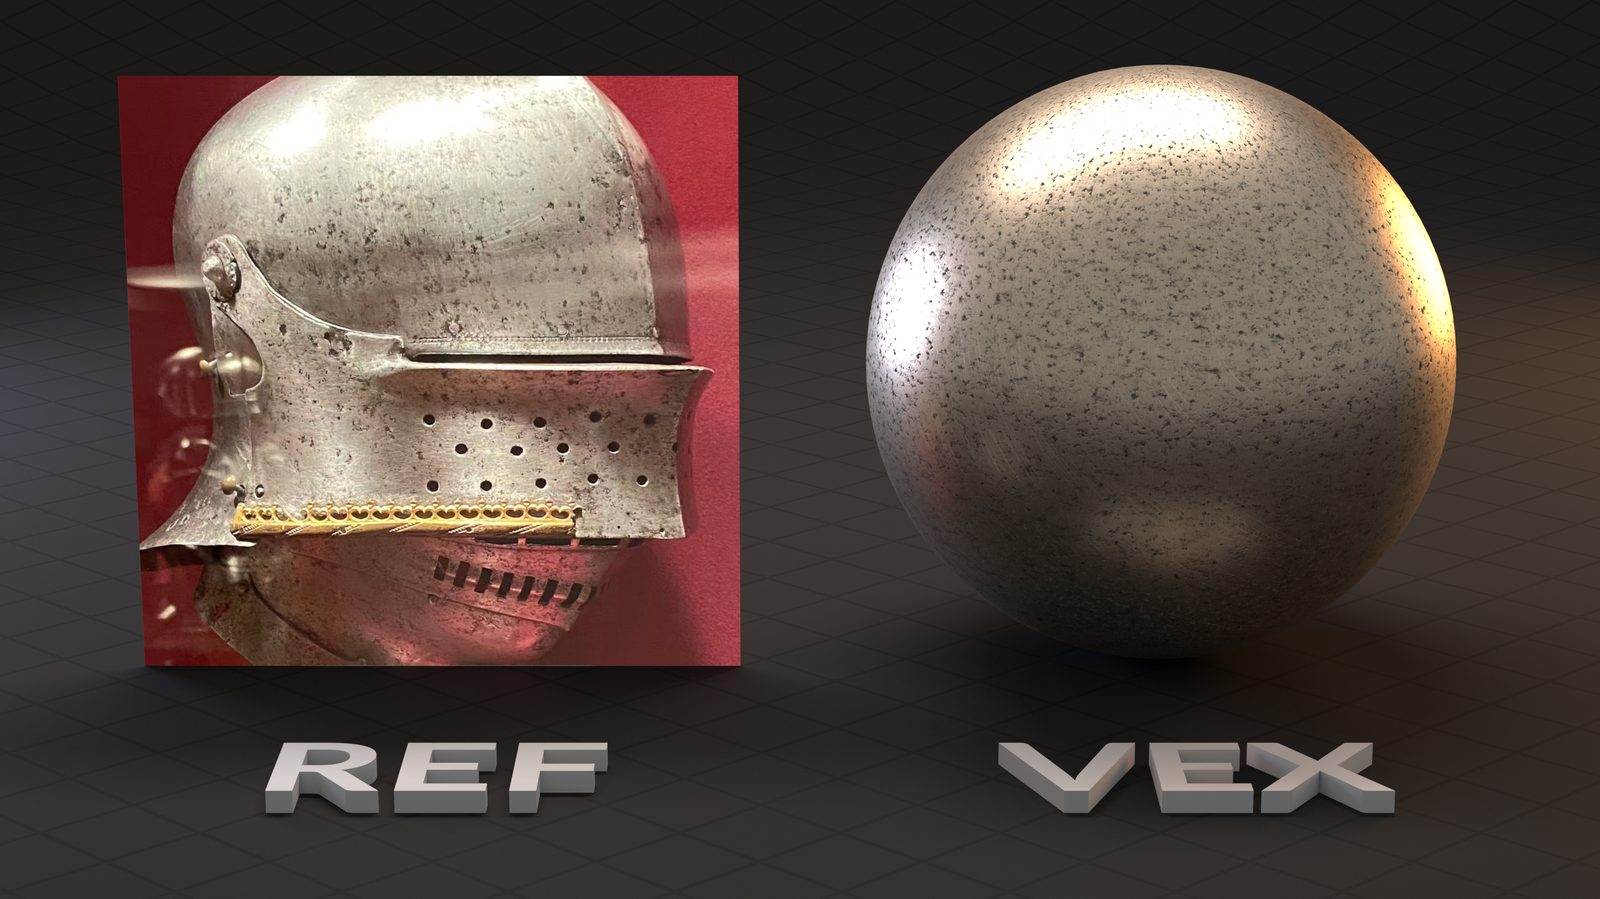
For Project 2, we dove deep into VEX shading. The objective was to create a procedural metal material with custom UI controls. I chose a worn-out metal helmet from my visit to the MET museum.
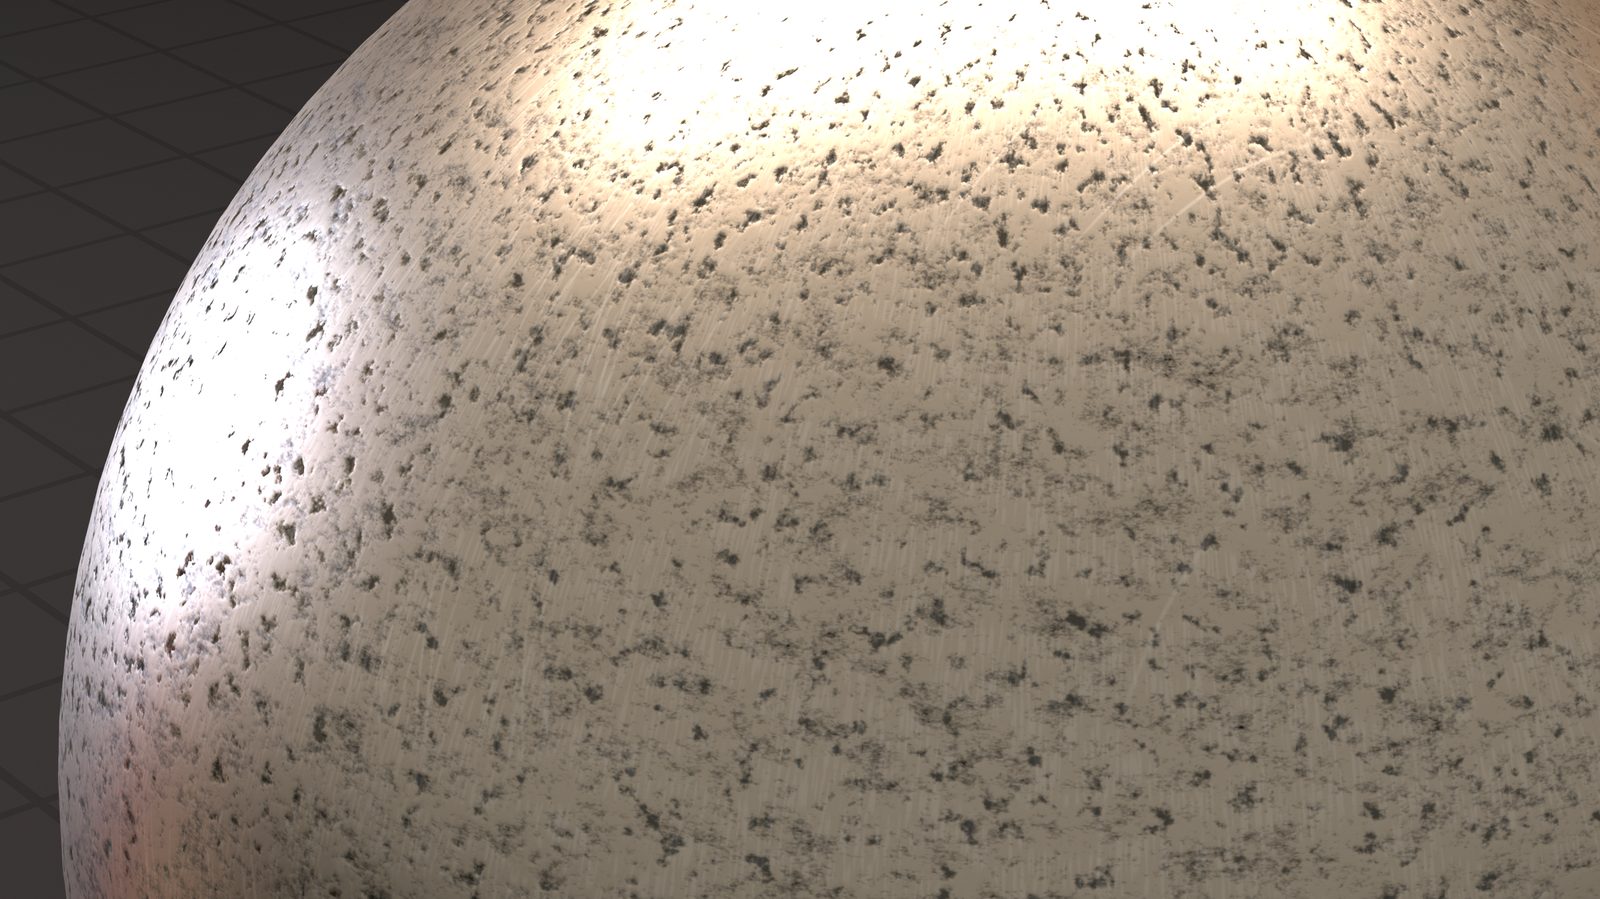
This project started easy and smooth — I was able to create texture maps with layers of noise that resembled the dents on the helmet. Then I hit a genuinely challenging coding problem: radial scratches. Linear scratches are easy, since you can draw them with a basic sin() wave. Radial scratches are a whole other approach. After hours of trial and error, and some consultation with my good old friend ChatGPT, I was able to figure out the radial scratches and build art-directable controls for them.
Project 3: Procedural Plaid Tool
For Project 3, we were challenged to choose a plaid pattern and build a procedural tool to generate it.
This project was a painful one, and I learned a really important lesson from it — good code doesn't come from blind effort, it requires efficient structure and proper planning. What happened was that I started off by drawing each visible line with a unique, individually designated sin() wave at a frequency of 1. That created two problems: redundancy in my code, and no way to procedurally control the scaling of the whole cloth pattern.
I learned this lesson the hard way. Though my pattern looked exactly like the reference, it couldn't be procedurally controlled — and if it's not art-directable, it defeats the purpose of the tool. The root cause was that I wasn't thinking about the big picture. I focused too much on positioning each individual line, rather than identifying the bigger repeating plaid pattern underneath.
So I rebuilt the whole code structure. This time, I clearly identified what the repeating pattern actually was and used a higher-frequency sin() wave to represent the line pattern. With that new base structure, I was able to build real procedural control for the plaid pattern.
Project 4: Procedural Wood Tool
For Project 4, the objective was to create a procedural wood texture tool.
Final Project: Parfait
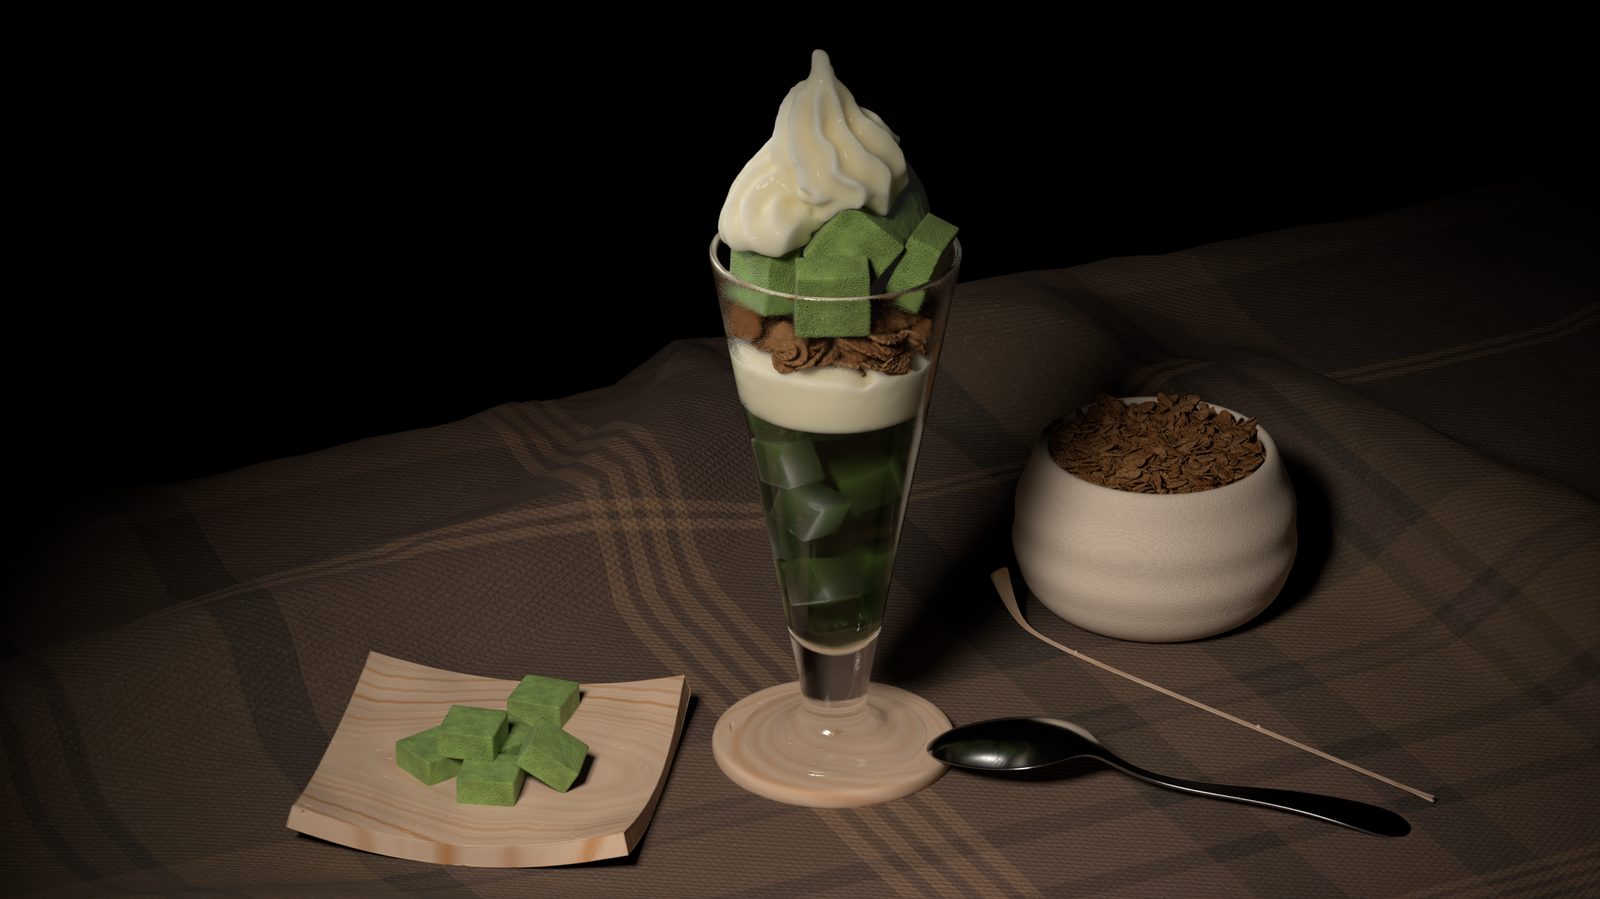
For the final project, we were challenged to choose a drink and set-dress a tabletop around it. I chose to do a matcha parfait.
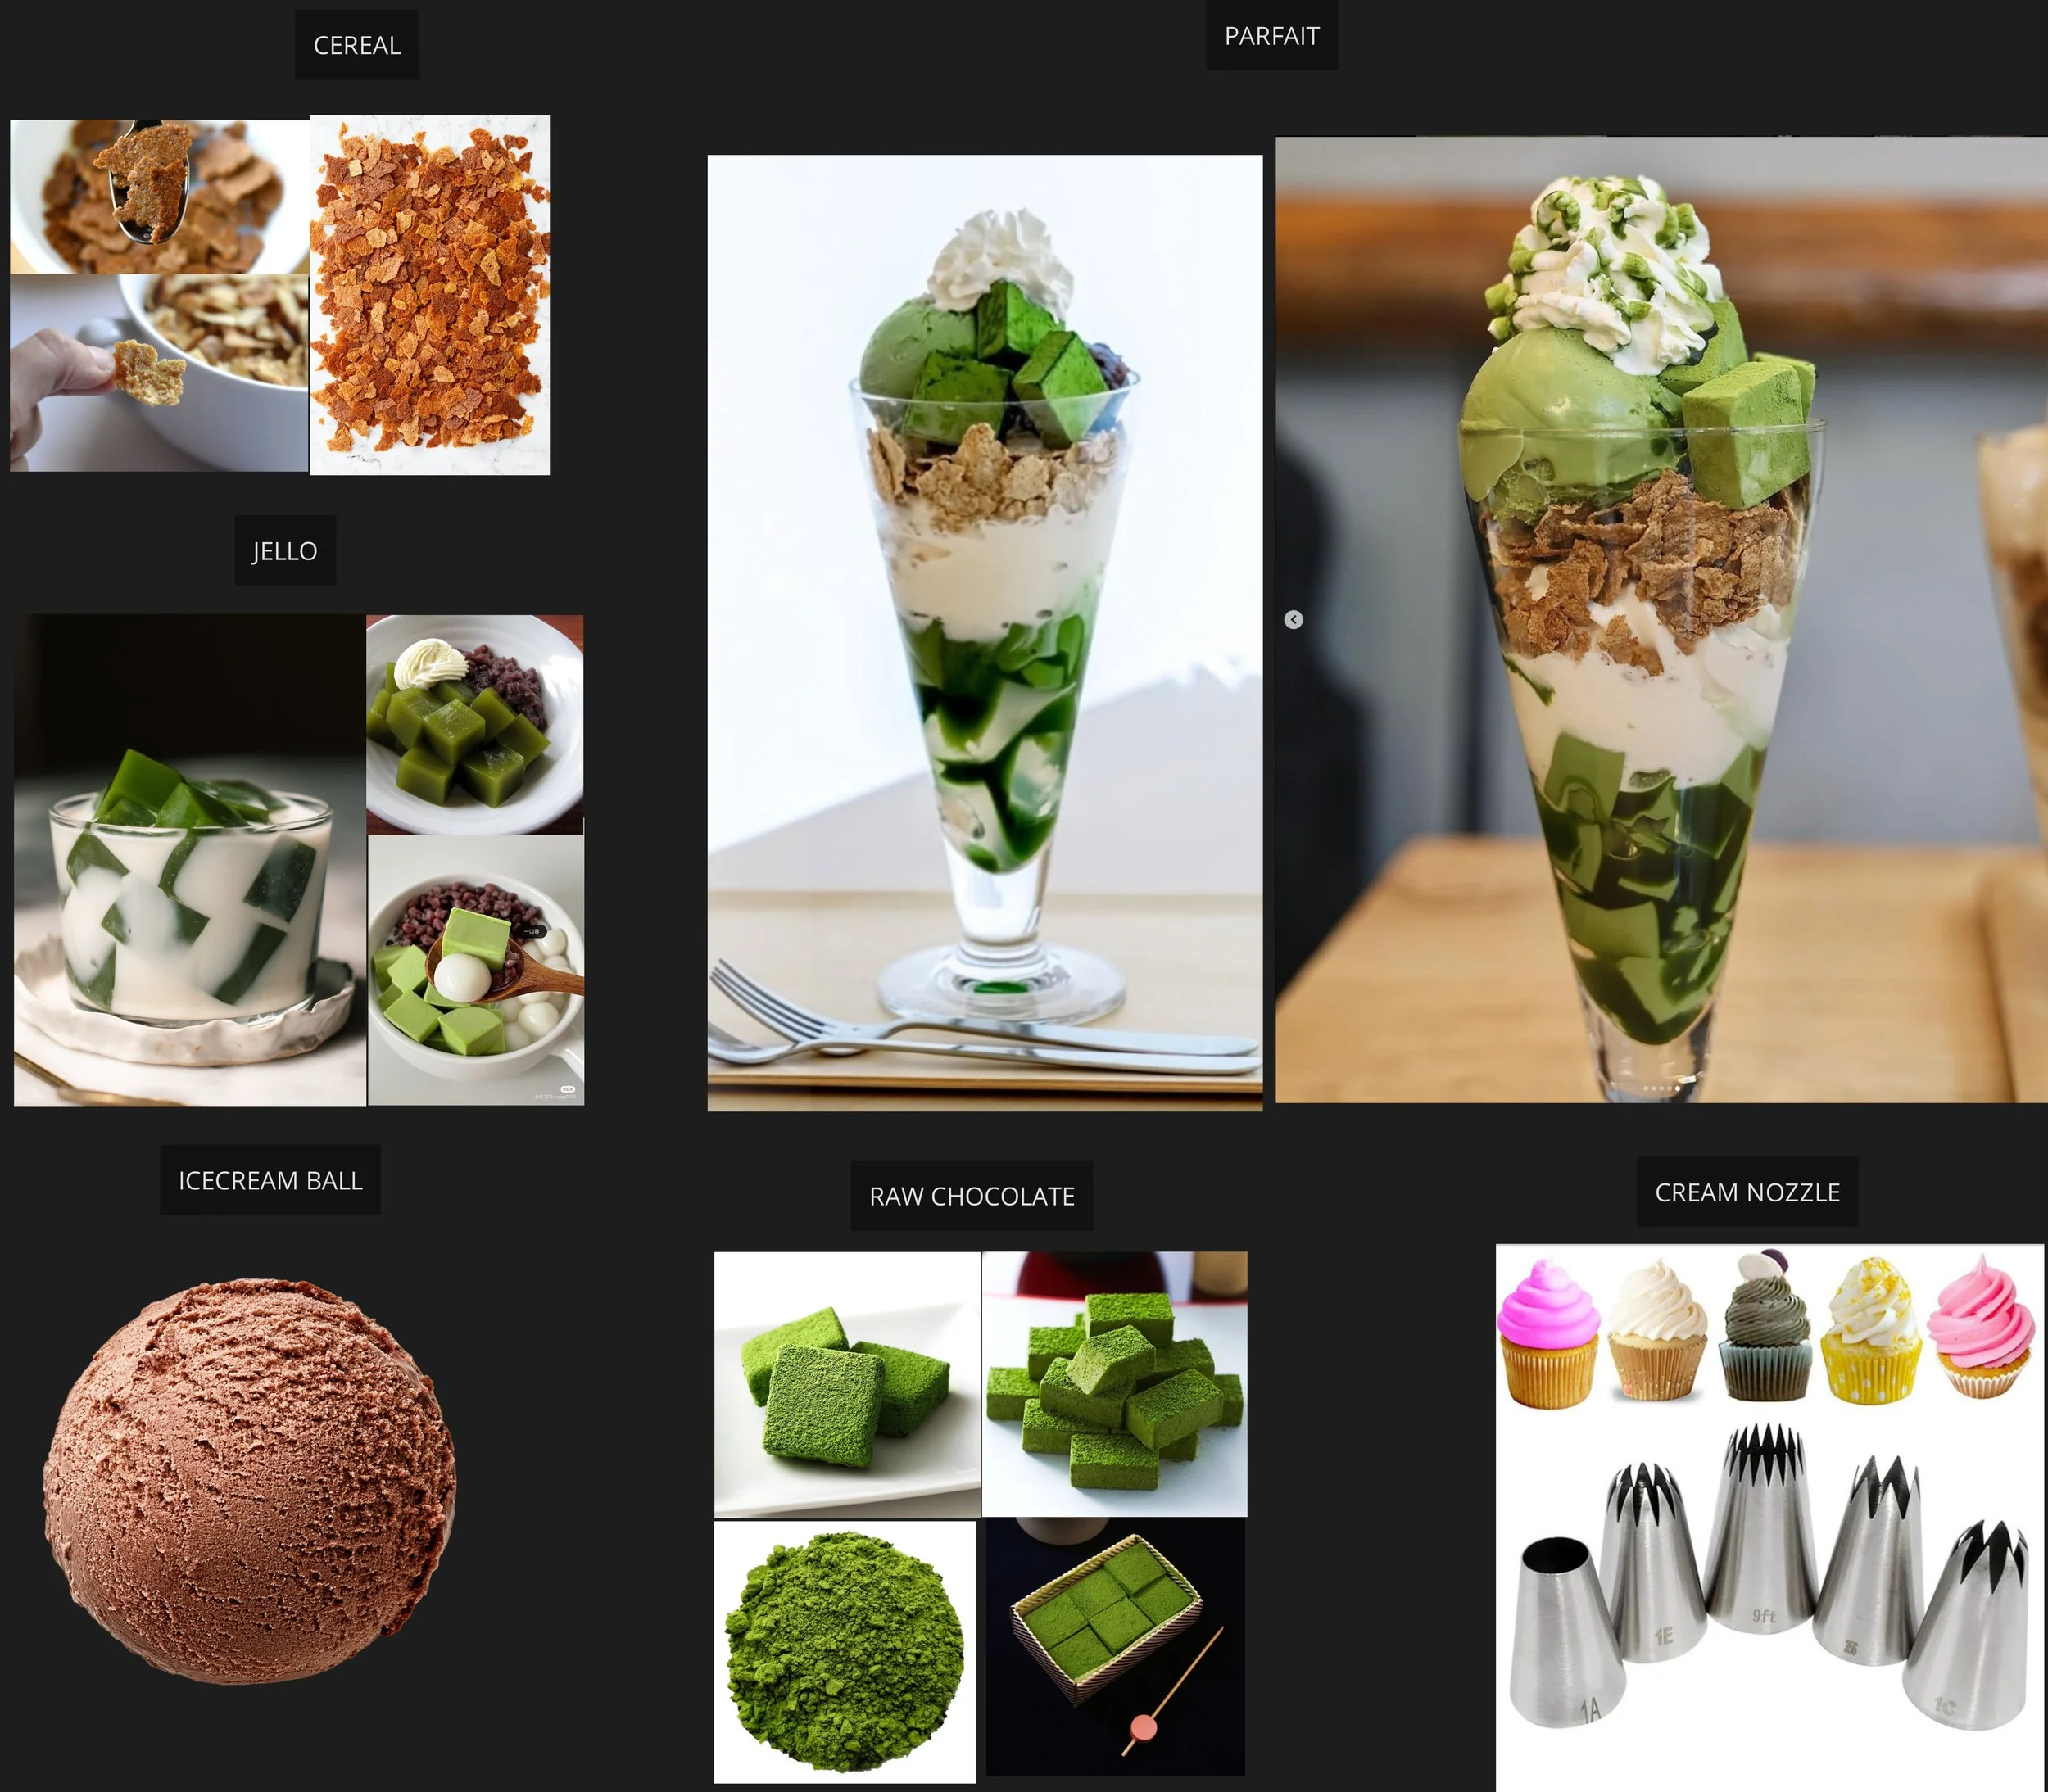
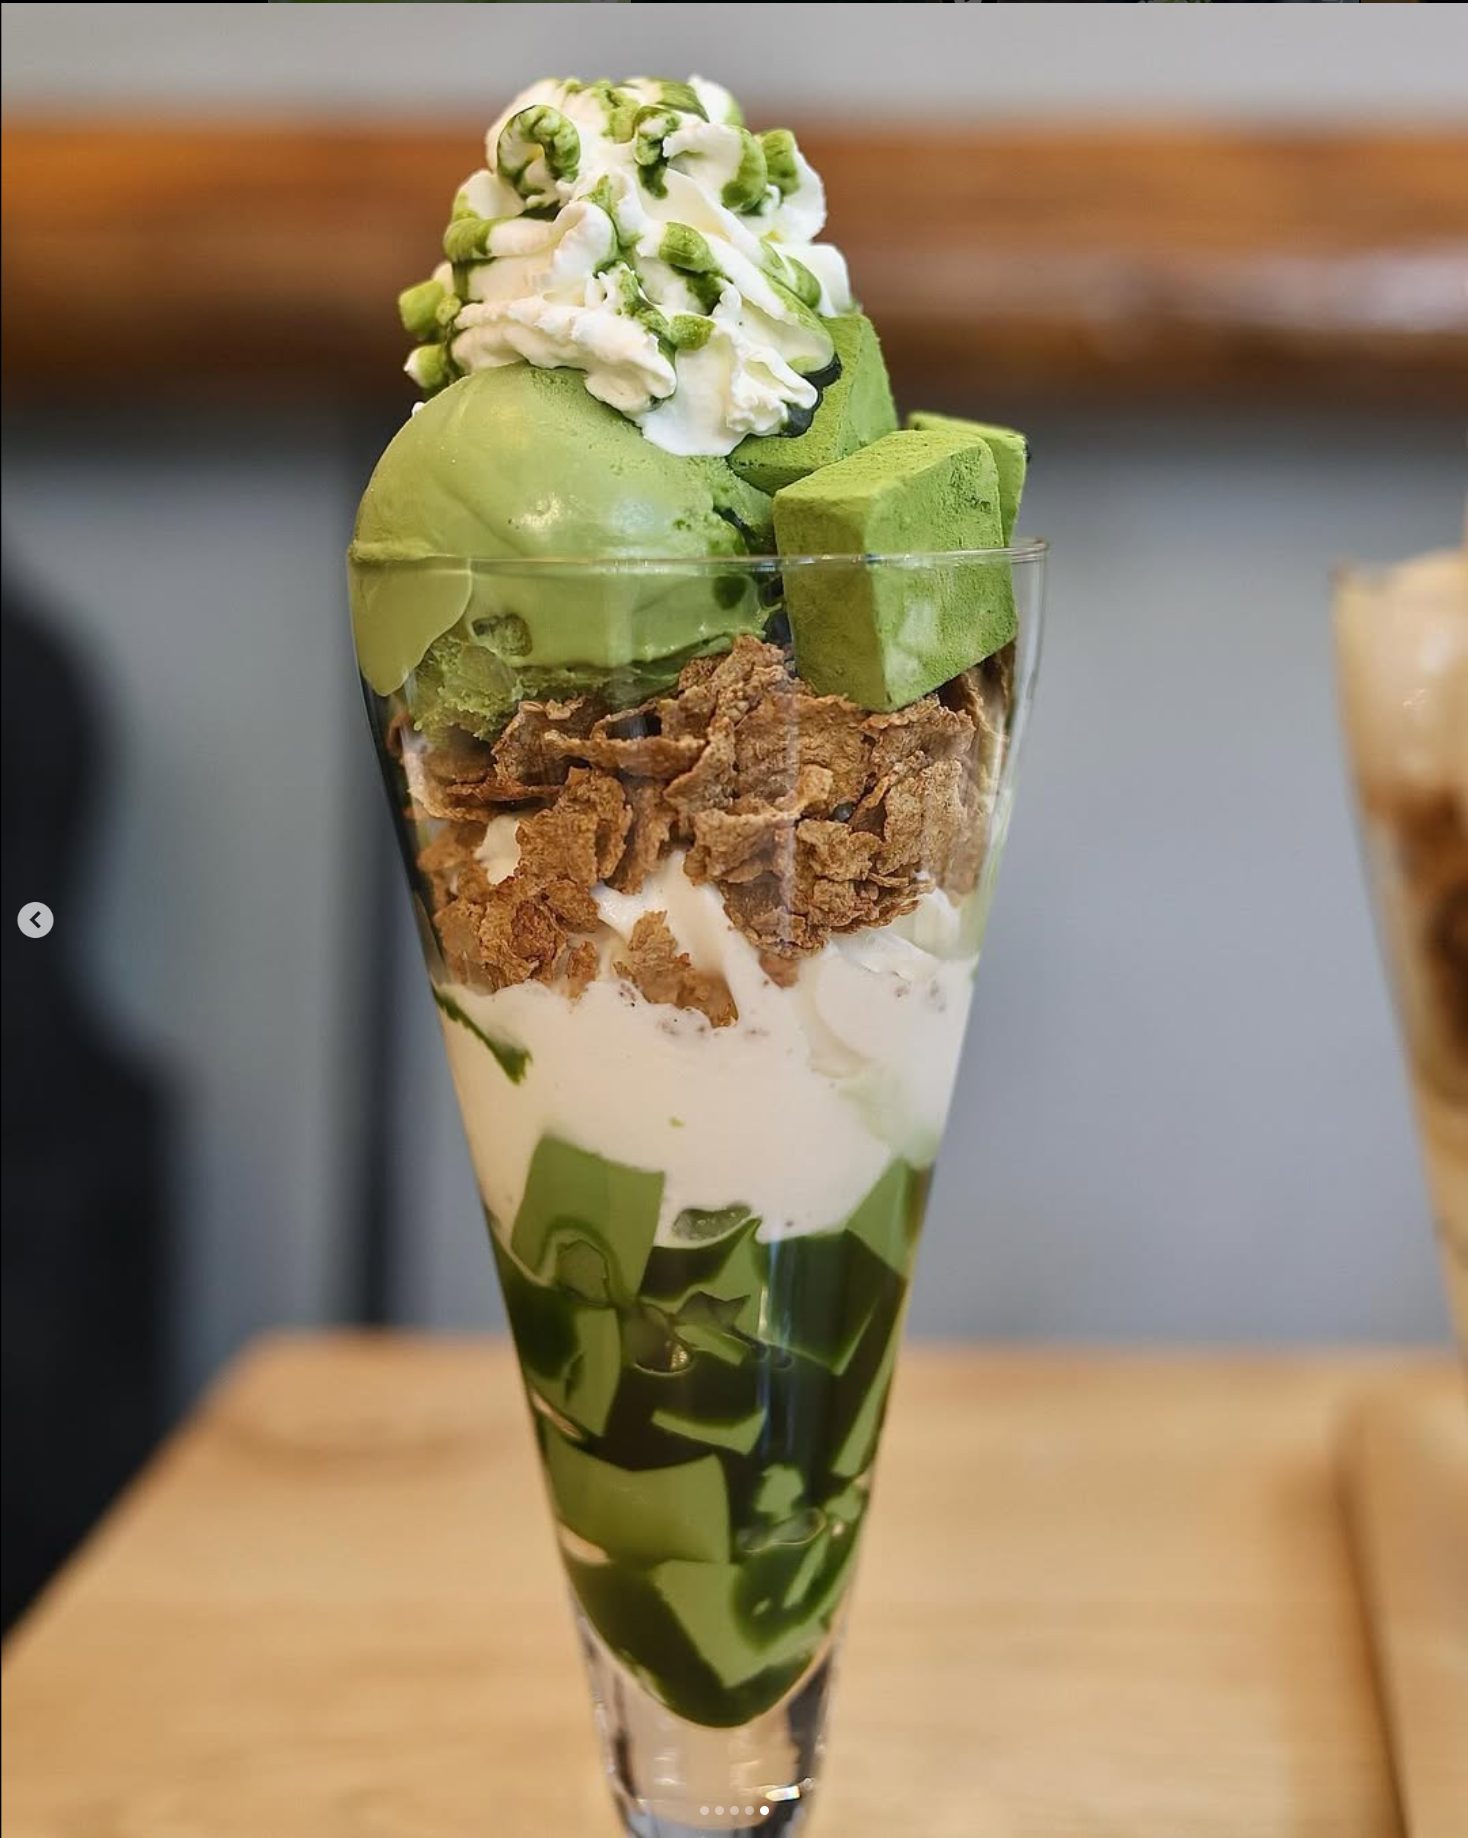
Though not a project requirement, after watching Peter Sanitra's presentation on making cookies and cream in MPM, I couldn't resist trying the MPM solver in Houdini 21. To get myself more familiar with it, I binge-watched a lot of MPM tutorials and read through the documentation. At the time, MPM tutorials online were rare and somewhat superficial — which makes sense, since MPM is still very new to Houdini. That meant a lot of experimentation and parameter testing on my own.
Honestly, I did not expect it to be this difficult — though that's more of a me-setting-too-ambitious-goals problem. My attempt was to run a simulation of multiple materials in one pass: jelly, matcha, cereal, creamy bubbles, ice-cream toppings, and chocolate. For an MPM first-timer, that's way too ambitious.
I quickly found out this approach wasn't feasible for my setup, for a few reasons. First, to maintain accuracy and precision for the motion, the MPM material presets created too many particles, which ate up my 96GB of RAM quickly. Second, simulating bubbles isn't MPM's strength — in fact, it's not really possible to simulate bubbles in MPM at all. You could fake them by meshing a fluid surface, scattering points, copying tiny spheres onto them, and booleaning them out, but that's not actually simulating bubbles. And finally, MPM is very scale-dependent: the material presets default to whatever scale they were authored at, sometimes gigantic in meters, sometimes real-life scale. That's not a problem simulating one material alone, but simulating several together creates compounding scaling issues, which meant overriding the presets and dialing in my own parameters to compensate. Not a pleasant experience.
To keep the sim running within my RAM budget, I scaled everything larger than its usual size to use fewer particles. Just testing cream being squeezed out of the nozzle took a long time on its own — I had to maintain the star-shaped cross-section and the soft, buttery, stacking motion of the cream while working out exactly how each parameter contributed to the simulation. It was hard.
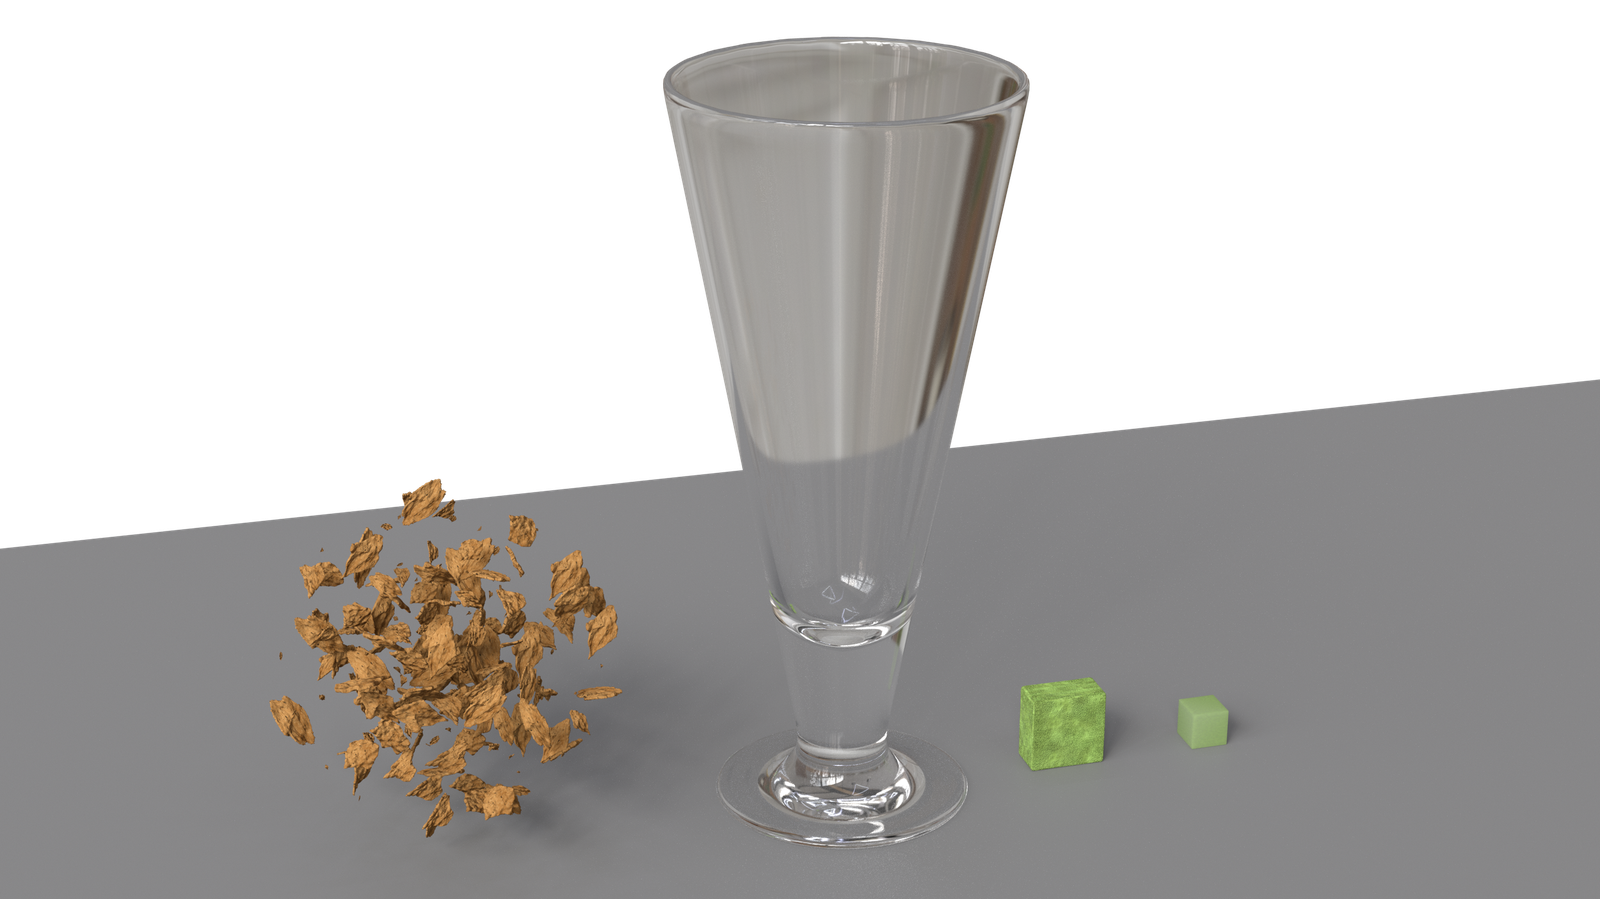
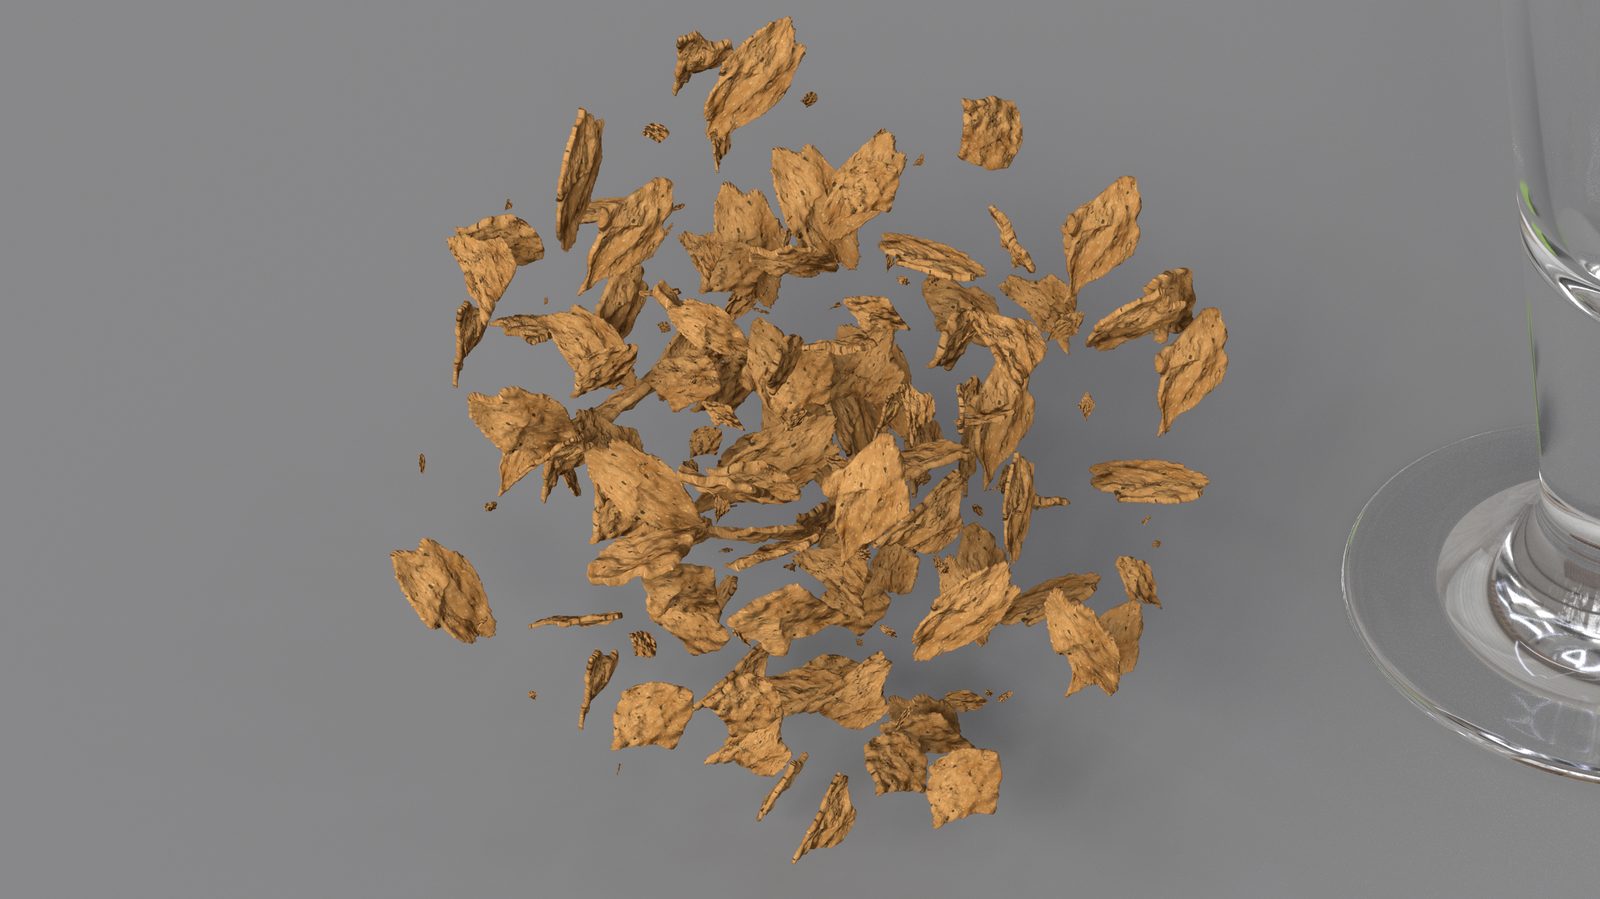
With limited time, I gave up on that all-in-one approach and switched to a combination of RBD and MPM, splitting the simulation into stages: first, MPM solves jelly, water, and cream; then the MPM surface is meshed and used as a collider for an RBD simulation; then the RBD result becomes a collider for a second MPM pass simulating the cream topping. It wasn't a single unified sim, but it worked.
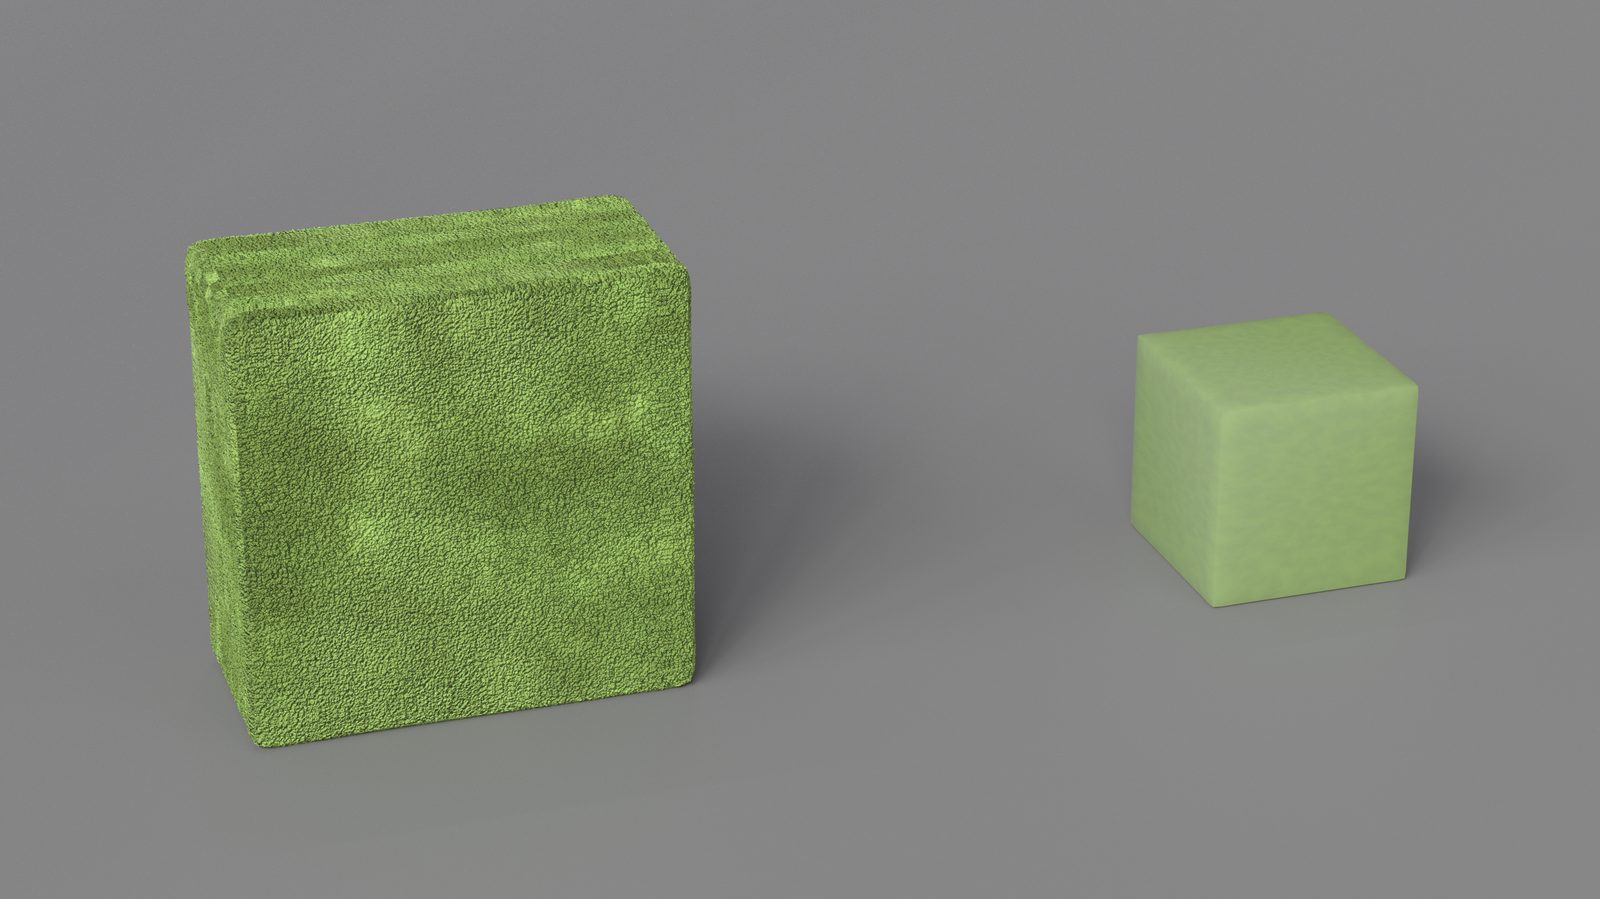
For the rest of the scene, I tried to do everything — modeling, texturing, and rendering — inside Houdini. I modeled everything except the spoon, and textured everything myself: my own metal tool to shade the spoon, my own plaid tool for the tablecloth, and my own wood pattern tool for the wooden plate and cup holder.
Closing Thoughts
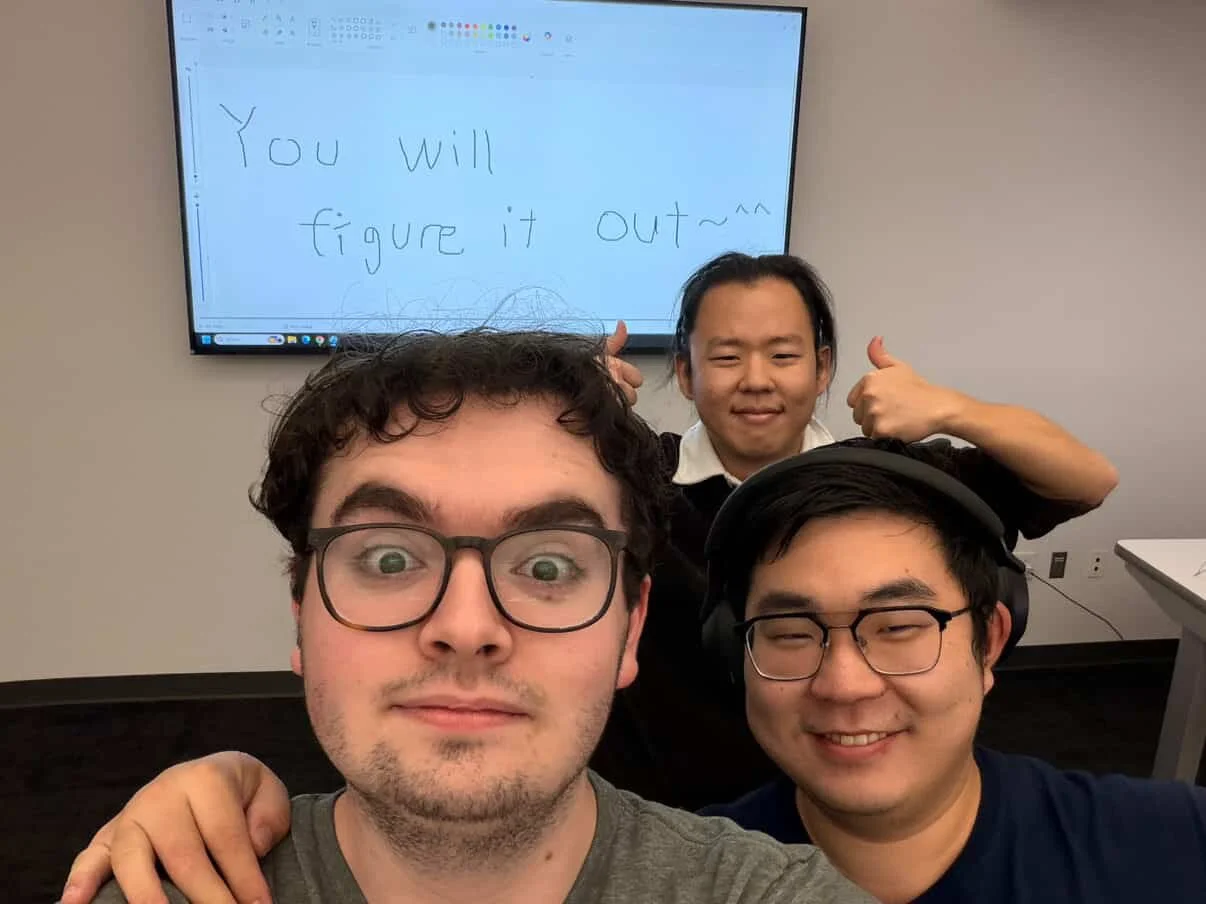
VFX is a life-long, weary road to pursue. I'm glad I'm not alone.
As Prof. Timothy always says — "you WILL figure it out."